A DIY Guide To Windshield Wiper Replacement
 A DIY Guide To Windshield Wiper Replacement
drivrzone.com
The wiper blades on your windshield play an instrumental role in wiping away dirt and helping you see clearly in heavy rain while driving. When they get too old or damaged, however, their effectiveness goes out the window. If your wiper blades have seen better days and a replacement is imminent, be sure to consult with this helpful guide. It will make the selection and installation job a breeze, even if you have no prior automotive experience to draw upon.
Inspect Your Current Blades
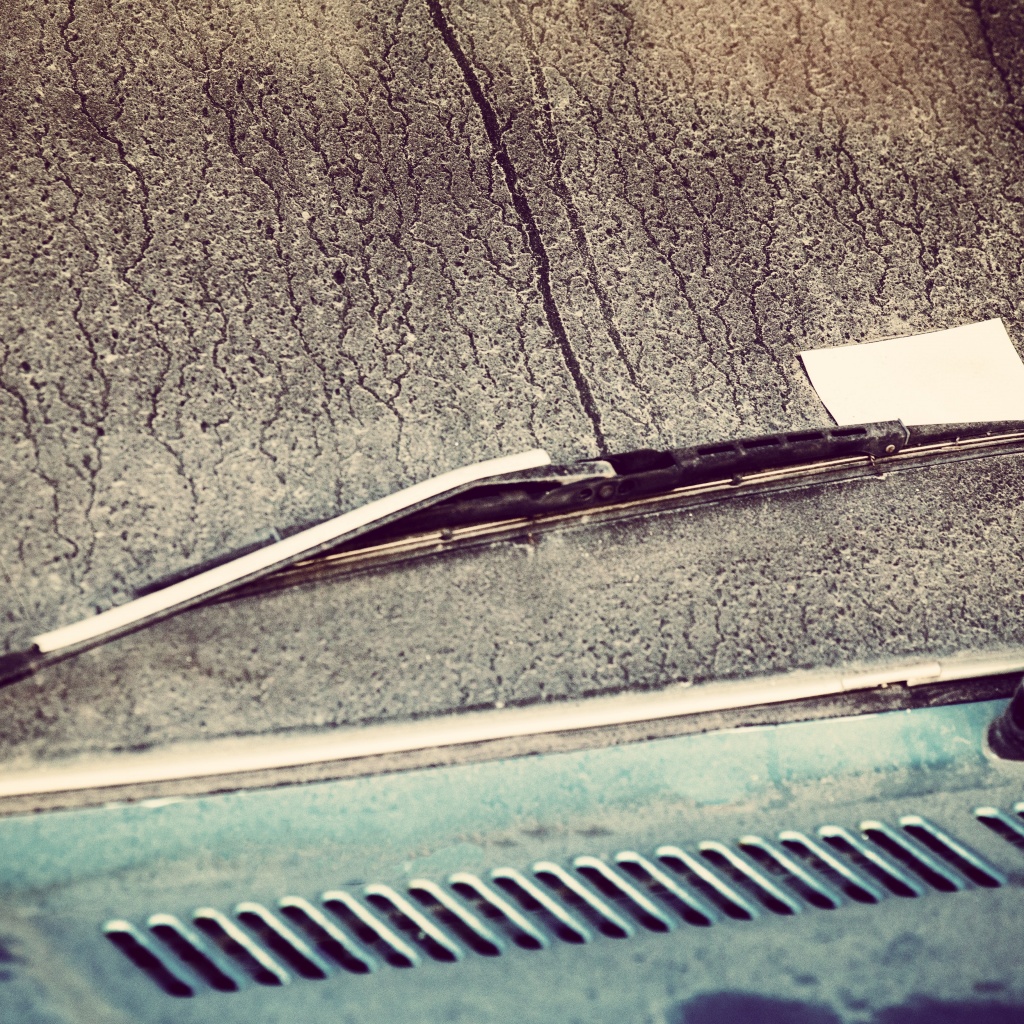
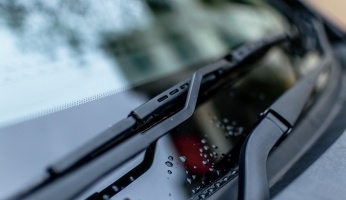
So that you know for certain whether you need new windshield wiper blades or not, it’s a good idea to assess the blades currently on your vehicle. Some of the most common warning signs that warrant a replacement include broken frames, visible cracks, metal corrosion, and missing pieces. These visual signs will be noticeable almost immediately. The age of your wiper blades is another indicator of when they should be replaced. It’s recommended to replace these blades every 6-12 months.
Once a visual inspection is conducted, you’ll need to run a performance test. Place some dirty water on your windshield and activate your wiper blades. If they leave behind large streaks and you can actually hear them screeching with every pass, odds are you need a replacement. It’s important not to delay this replacement, as it could hinder your ability to see when driving and lead to costly accidents.
Choose a Replacement Set
Before you start installing the new set of blades, you must first know what type to get. There are many great options today, but you can narrow down your options by focusing on certain factors. One of the most important being design. There are several design options to choose from, but two of the most used are conventional and beam.
Conventional wipers are extremely popular today, given their availability and ease of installation. Their rubber blades can be replaced periodically to ensure effective operation. Beam wipers are a little different in that they don’t have any external frames. Instead, they rely on spring steel that offers exceptional wiping performance in different conditions.
Another thing to keep in mind when choosing new wiper blades is brand. Not all brands are created equal, which is why you need to carefully see which brands have received the top reviews. If previous consumers are saying nothing but positive things about a brand, it’s safe to assume their wipers are made from quality materials and will last a long time.
Finally, you’ll need to select the right size of wiper blades. The easiest way of going about this is seeing what size your old set was. If you kept the packaging, the dimensions should be identified somewhere on the box. If this packaging is nowhere to be found, you can always look up the model and brand of the wipers you previously used. Having accurate dimensions is essential for ensuring your blades provide full coverage to your vehicle’s windshield.
Remove the Old/Damaged Blades

First, you’ll want to firmly grab one of the wiper blades with one hand. Once this wiper assembly is lifted from the windshield, you can now press the small button that’s on the adapter clip. You should now be able to pull off the entire wiper blade in one smooth motion.
It’s important to not apply too much force or rush this process, as you could make a mistake that ends up damaging your windshield. Then, you may be left with an expensive repair that could have easily been avoided. Once the first windshield wiper blade is taken off, repeat the exact same steps to the adjacent windshield wiper blade.
Attach the New Set
Now comes the fun part: attaching the new set to your vehicle. Again, this process shouldn’t be very difficult if you follow directions and don’t rush the process. With one of the new wiper blades in your hand, place it onto the corresponding arm while making sure the hole is lined up.
Keep pushing until you hear a click. Wiggle the wiper blade in place to make sure it’s firm. Now all you must do is place this blade back into the correct position and repeat these steps with the other wiper blade. It should take you no longer than several minutes, and you won’t need any extensive training or specialized tools.
Don’t Forget the Test Run
Even if you have a lot of experience installing windshield wiper blades and believe you carried out each step flawlessly, you should still test the newly installed wiper blades as a precaution. This way, you can be absolutely sure they were installed correctly and will work when you go to drive for real on the road.

The best way to administer this test is to either wait until it rains or to simulate rain yourself. Obviously, the latter probably works better for your particular schedule. What you’ll need to do is get someone to hold a normal garden hose over your vehicle’s windshield. Have them put their thumb on the nozzle, simulating sprinkles or heavy raindrops.
If the new blades move in a smooth motion, don’t make a lot of noise, and effectively repel water without leaving streaks behind, you know you’ve done the installation job correctly. You can then drive your vehicle in any weather condition, all while having ample confidence that you’ll be able to see clearly.
Since the windshield wiper blades on your vehicle play such an important role for your visibility and thus safety, you should never put off installing a new set. This entire process doesn’t have to be too difficult or time-consuming, as long as you select the right replacement set and take your time installing them on your vehicle. Such simple measures can prevent you from facing serious hurdles.
Sources
- How Stuff Works – How Long Do Windshield Wiper Blades Last?
- Auto Week – Everything You Ever Wanted to Know
- Reader’s Digest – How to Replace Windshield Wiper Blades in 6 Steps


