A Complete Guide to Headlight Restoration
 A Complete Guide to Headlight Restoration
drivrzone.com
A Complete Guide to Headlight Restoration
drivrzone.com
The headlights are some of the indispensable tools we require to drive a vehicle properly, they are – literally – our vision on the road. Just like every other part of the car, they start to deteriorate with time.
If you’re here we assume your headlights need restoration – or will soon. The best restoration method is proper care. Attending your lights periodically will prevent them from needing an intervening restoration later on. Additionally, it will help increase the lifetime of your headlights.

That being said, restoring a headlight shouldn’t be too much trouble – depending on the degree of restoration you need. Your foggy headlights may actually in much better shape than you think, they just need some a hand. Following this dedicated guide, you’ll achieve a long-lasting restoration.
If you’re looking for a hotfix on the go, long story short, rub some toothpaste on your headlights. Just do it, the trick has been around for as long as headlights. This is no more than a temporary solution, though.
Identifying Your Problem
First things first; you need to know what the problem is before attempting to fix it. There are a thousand and one reasons why your headlights could be fading, and restoring the exterior of the headlight won’t do anything if the problem is not the exterior. Headlight restoration normally refers to cleaning the headlight lens intensively.
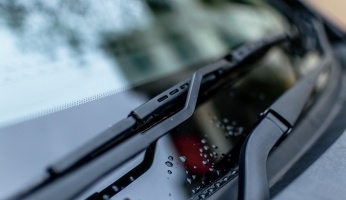
A car headlight is similar to any other lamp. There’s a small bulb within the headlight (the actual light), and then there’s the lens covering it. Lens plays a role in diffusing the light evenly, and thus it clouds the lighting if it’s dirty. This is the only symptom you should note.
If your headlights flicker or emit significantly different levels of illumination (between sides) or if they don’t turn on at all, the problem has nothing to do with cleaning. These symptoms indicate that the problem is the bulb.
Of course, cleaning your bulb-busted headlight won’t do any worse if you plan on changing the bulb eventually. Just remember bulb problems won’t be fixed by lens maintenance.
The first, and clearest indicator that your headlights need restoration, are the cloudy lens. Don’t worry, though, what seems like a thick coat of irremovable dust is actually quite removable. You just need to grind into it.
Lens Deterioration
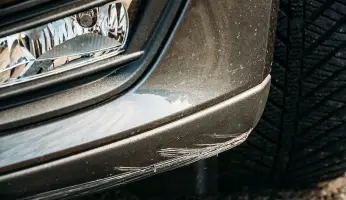
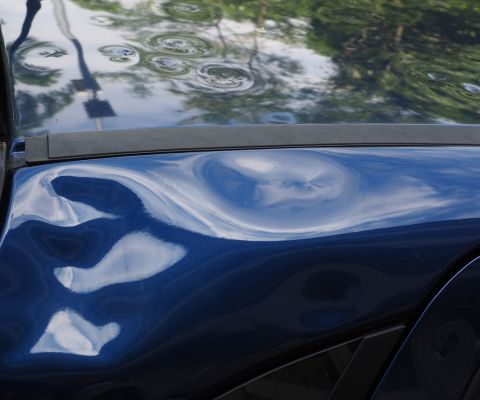
Over time, your headlights will be deteriorated by dust, debris, and all other things that you pick up with the car. However, the most significant damage comes from exposure to ultraviolet radiation.
Most headlights used in cars nowadays are the mode of polycarbonate plastic. The material is quite durable and helps prevent scratches, however, is gradually deteriorated by UV rays. The outer layer of plastic starts clouding over. A good thing about this plastic, though, is that it can be restored to a surface as smooth as new, and takes no longer than 30 minutes.
Polycarbonate plastic only covers the outer surface of the headlamp modules, being the outer-most material. It’s much more resistant to stone chips and cracks than inner glass, but the exposure to UV rays and atmospherical chemicals may develop fine cracks. The quartz-halogen bulb inside (for most cars) isn’t easily deteriorated.
The cracks, called craze, will make the restoration job tougher. In some cases, the cracks may be impossible to remove. Do note, however, that cleaning the lens properly makes it extremely hard to notice a fine crack.
For the case of clouded headlights, it’s normally not necessary to remove the headlights in order to restore them. If you decide to remove them, though, keep in mind that you’ll have to check the alignment of the lights once they’re back on.
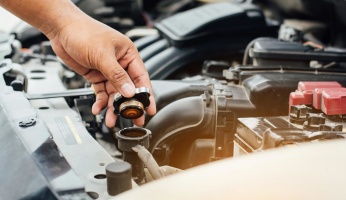
Bulb
As mentioned before, it’s possible that the lighting is affected due to the bulb. Bulb problems are easily identified in most cases, as they cause the lights the act abnormally. Whatever the problem is, you’ll have to dismount the headlight in order to remove the bulb.
In few cases, the problem can be solved without purchasing a new bulb. Bumps and driving, in general, may affect the cable connection through time, as well as other factors. Before purchasing a new bulb, you could take yours to a workshop for testing. If they confirm the bulb is dead, buy another one. If it works correctly, you may hay to take your vehicle to the workshop to get checked (or check it yourself if you have professional experience).
Typical signs of bulb damage are flickering lights, gradual increases and decreases through the day, brighter illumination on one side, and similar. If you’re familiar with vehicle parts and count with the manual, you may dismount the headlight yourself. In most cases, you can also find the manual on the internet.
If purchasing a new bulb, take the old one with you for comparison and recommendations from the store. They should give you an according to the product, but always make sure the bulbs are compatible with your headlights.
Restoration Process
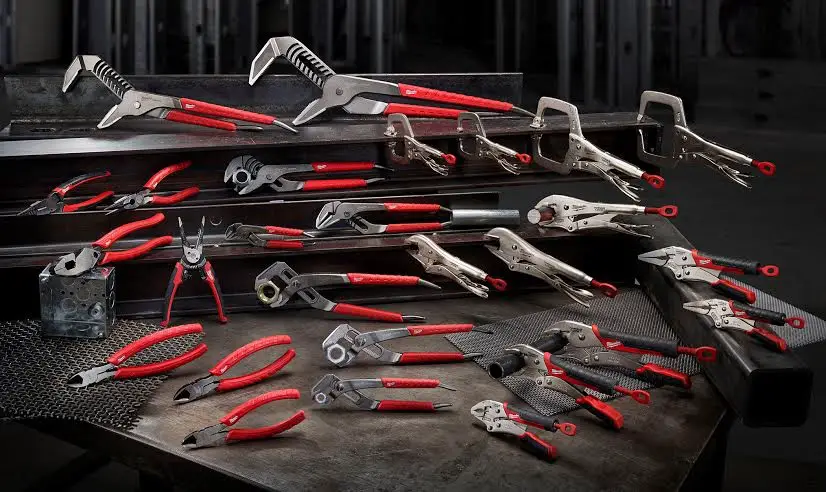
For the restoration, you’ll need a couple of basic tools and items. Scissors, plastic sheets, masking tape, sandpaper, a water spray, alcohol, and transparent UV-resistant coating. You likely already count with some of it, or alternatives, so you may use those instead if it fits you better.
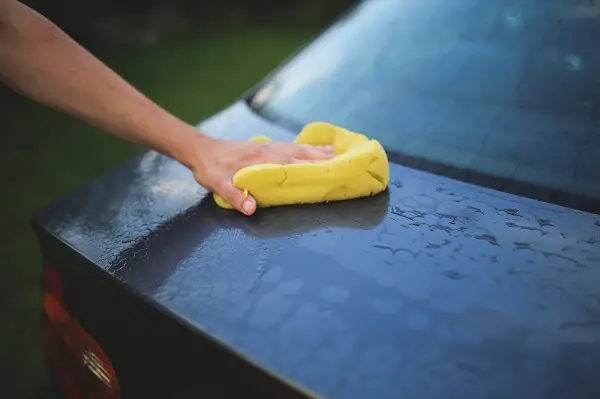
Washing the Car
Generally washing your car if the first thing to do on most restorations. You don’t want any debris or dust adhered to your vehicle to interfere with the cleaning. Get the surface as clean as you can and letting it dry completely.
Using car wax is an optional improvement. Waxing the surface within two feet of the headlamps, as it will make the surface less adherent to polishing and cleaning chemical compounds.
Masking the Headlights
Next up, use some traditional blue masking tape to surround the headlights. Try to get your hands on high-quality, non-marking, and easy-peeling tape. There are specific car tapes, but painting tape does the trick as well. Cover the lights thoroughly and leave some external margin to prevent the products to get on the car.
It’d be wise to remove any headlight frame or trimming. We’ll be using some things that will easily hurt chrome, which is normally the material used for the frame. Keep in mind that you want to remove anything else that could be damaged by sanding and polishing.
Sanding the Surface
Here is where the actual restoration begins. Any sanding product is highly abrasive, the main concept is to sand away the outer-most layer of hazing. The more car you put into it, the better it will look. Take your time and try to be as even as possible throughout the surface of the headlight.
If you sand the headlight properly, your headlights should look brand new, literally clear. Yellowing, blind corners and similar defects should be gone. To start, grab a piece of sanding material, preferably 1000-grit, and let it soak in cold water for 10 minutes.
Hold the sandpaper with your palm in a slightly curved manner, resembling the curve of the headlight. Get a firm grip of the paper so you can control it adequately, we want to avoid sanding any external car paint or part.
Start lightly sanding the headlight surface with uniform strokes. The ideal thing would be to start at the top with back and forth strokes. Use the water spray to keep the headlight surface moisturized as you sand. Gradually lower your hand with each back-and-forth stroke to obtain an even finish.
You’ll need to sand it based on how cloudy it is. Basically, sand the surface until the imperfections (yellowing, hazing, etc) are gone. You should be able to see them gradually fade as you work on them. You can dry the surface at any point to verify how it’s looking so far, and how even it is. Depending on the restoration you require, it may be necessary to repeat the process with a higher-grit paper.
Second Round
Ideally, a headlight restoration should consist of at least two or three sanding rounds. With the 1000-grit paper, you’ll only get to a point where the imperfections fade to a certain degree, not past there. Once you feel the surface is uniform from the first sanding, take on a 1500-grit sandpaper and repeat the same process above, starting by soaking the abrasive.
Keep it systematical, stroking in an organized manner. If the hazing is not yet faded, repeat the process with 500 more grits, and so on. You want to clean up before switching from one paper to another, to make sure there’s no abrasive powder on the surface. Also feel free to add more tape as you sand the headlight if you see it’s too shattered.
Once you’re done sanding, clean the lens once again to remove any residuals from the abrasion.
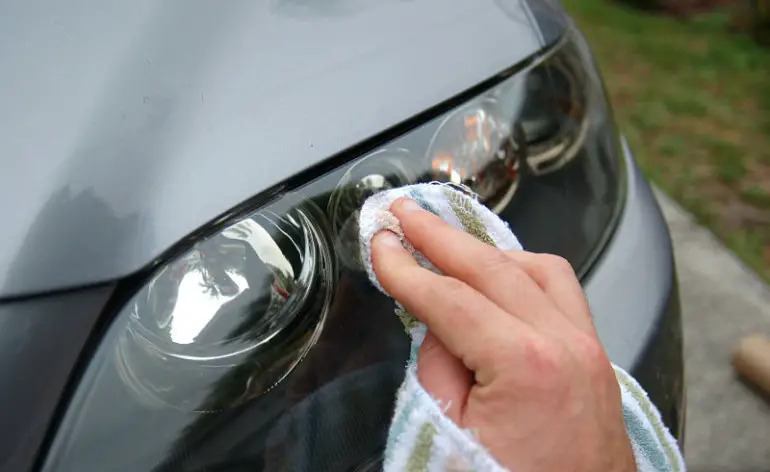
Polish
Polishing the headlight is the best way to end up the cleaning. A thorough polish will help remove any remaining marks and cleans the abrasion scratches. It will also clear the lens surface, giving it that clear aspect that looks like new.
Start polishing with a soft cloth, preferably microfiber, and the cleaning compound. Use some of the product directly on the lens and start polishing in circular motions with intermediate pressure. The cleaning product will start to dry out and getting into the cloth, this is where it takes the haziness away from the lens.
Once the compound properly adheres to the cloth, it takes around 15 minutes of polishing per lens. There’s no rush, just maintain it uniform. It’s important to polish only the headlight and no other component, avoid the car paint. Proceed until the lens is notably shiny.
You should be able to see how to lens gets gradually clearer as you polish it. Keep in mind that some parts of the surface may be past restoration, but you can definitely make them look better. You’ll see and feel some remaining defects, but if cleaned properly, it’s almost like they’re not there.
Once polished, clean up all the polishing compound. Use some paste car wax on the lens and apply it thoroughly to coat the headlight. It will temporarily protect the surface from chemical compounds, dirt, debris, road salt, and other factors from degrading the plastic.
Apply UV Sealant
Keep in mind that you just sanded off the top layer of the headlights, meaning any UV protection or coating there is gone. It’s highly important to reapply a UV coating, or else the headlights will degrade much faster under the sun. Remember UV radiation is the main affecting factor for headlights.
Once all of this is done, your headlights should have a much better visual aspect. If you followed the procedure as recommended, you should recover most of your nighttime vision on the road.
If after following all steps your lenses are still cloudy, consider using a tougher abrasive paper. Remember, cleaning your headlights periodically will ultimately prevent you from having to go through the complete restoration process again. The best way to restore a headlight is to prevent it from needing restoration.
Sources
- youtube | General information about restoration
- youtube | what you should know about using paste
- wikipedia | Plastic headlight restoration