Window Chip Repair: A Do-It-Yourself Guide
 Window Chip Repair: A Do-It-Yourself Guide
drivrzone.com
Window Chip Repair: A Do-It-Yourself Guide
drivrzone.com
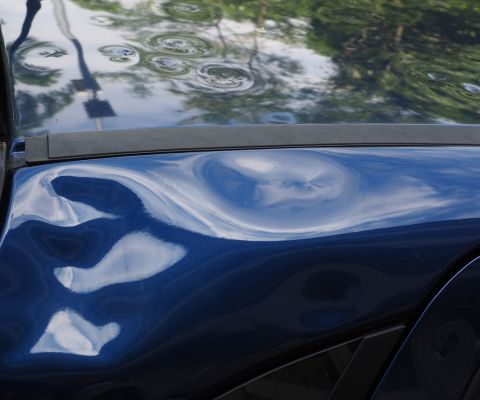
No matter how safely we drive, a cracked windshield is almost entirely out of our control. It is such a common occurrence that it isn’t covered under conventional insurance packages. There are insurance companies that offer an alternative through a third party, but even their packages are often offered at unreasonable prices. So how do we keep our windshield looking new without the high costs associated with windshield repair specialists? We try to fix them at home. This guide is will be helpful for DIY window chip repair, especially for those chips that could potentially become cracks. It’s important to get these fixed early, as with the changes in weather those chips become cracks then you have to either see a specialist or completely replace your windshield.
There are several products on the market, offered both on Amazon and numerous automotive stores, that allow you to fix cracks and chips from home. This article will offer instructions and tips for repairing your windshield that may not be offered in the instruction books included in the do-it-at-home packages. The first thing you want to do is go and get yourself one of these kits. You can speak with someone directly at the automotive store, however, our advice is go to go to Amazon and look both at star ratings as well as customer reviews. Utilizing the reviews will help you to get an idea of the quality of the product and will also help you to see where others’ successes and failures were with these products. Getting to see others experience will help you avoid their mistakes when doing your own repair.

If the chip you have can be fixed at home the next thing you will want to do is to ensure the surface you are working on is both dry and clean of all debris. If you have access to an indoor garage consider parking your car there overnight. The night before try to disinfect the area with alcohol, but don’t use too much liquid when cleaning the area. In the morning or the following day, check to see if the area is dry and ready for application. If it isn’t dry you can try a hair dryer to get the last little bit dry before starting.
Consider buying a small mirror for the inside of the car so that you can see both the top and the bottom of the crack when doing your repair job. This will allow you to see the crack from all angles. You also may want to consider purchasing a bridge and injector for the job which will create a seal over the chip for better precision. They aren’t very cheap, however, they will be handy in the future for all your windshield repair needs. It will pay for itself in one repair.
Once your tools are in place you’ll want to drop between 5-8 drops of resin in the injector. The amount of resin really depends on the size of the chip. Keep an eye on your mirror to see if the chip is filling in as much as you need it to. The injector will push the resin into the chip helping fill in all the little spaces. If you have set up a mirror under the chip you should be able to see it fill in as it injects. If more resin is needed add as you go, one drip at a time. Once the chip seems to be adequately filled, leave the resin for about 10 minutes as it dries. It’s important that this whole process is being done in a cool, dry place like a garage.

The next step is scraping off the excess resin. There should be a tool included in your package, but if there isn’t you can use anything with a long, flat and sharpened edge (like a razor blade). Very lightly scrape all the excess resin off the windshield. When the excess is scraped off clean the area, again, with alcohol and then a glass cleaner to polish the area. The chip should be filled in and almost invisible at this point. Filling in the chip should also strengthen the structural integrity of the glass again to at least close to what it was before the crack happened. This will stop the chip from spreading any further.
Fixing a chipped windshield helps aesthetically but more importantly, it stops the windshield from cracking, ultimately requiring a full windshield repair. It’s important to get the chips fixed as soon as possible so that they don’t turn into cracks. Cracks can be dangerous and sometimes illegal to drive with depending on where they are on the windshield and how big and deep they are. Getting on top of cracks earlier will ultimately save you a ton of money down the road. We hope this article was helpful in your upcoming chip repair.
Sources
- Popular Mechanics- Easy Repair
- Instructables- Windshield Repair
- ThoughtCo – How to Repair Your Chipped Windshield