How to Fix Car Rust in Six Easy Steps (And One Hard One)
") How to Fix Car Rust in Six Easy Steps (And One Hard One)
drivrzone.com
How to Fix Car Rust in Six Easy Steps (And One Hard One)
drivrzone.com
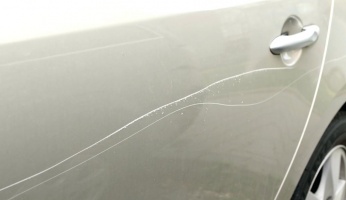
It’s always awful when rust starts to accumulate on your car. It’s aesthetically ugly, potentially dangerous, and bad for the structural integrity of your vehicle. If you ever try to sell a car that’s covered in it, you can forget about getting a
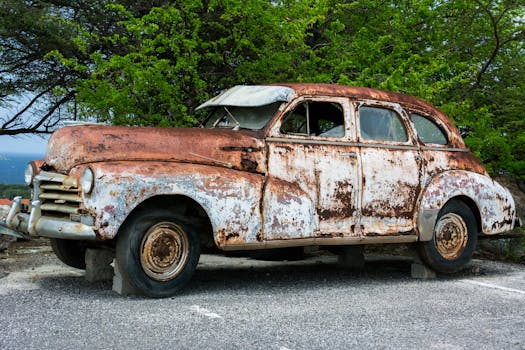
good price, and even if you’re planning on driving your car until it dies, no one wants to be driving around a dirty old rust bucket. The earlier you deal with the problem, the easier of a time you’ll have getting rid of it. Rust is like cancer; the longer it’s allowed remain, the more it will spread and the more damage it will do to the car, so you always want to attack it as quickly as possible. Eventually, when rust has eaten through a material entirely, there won’t be anything to clean it off of anymore. However, if you are vigilant about protecting your car from rust, you’ll likely add years onto the life of the car, and let it run for longer. But if you’re going to be taking care of your car properly, you’ll have to know exactly how to clean rust away. Here’s a comprehensive guide on how to clean rust off of your car in seven steps.
Get Prepared
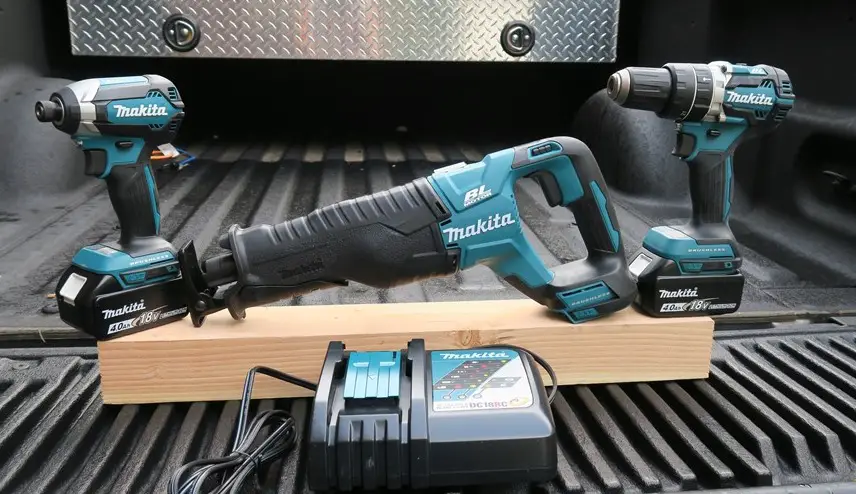
You’ll need a number of specific tools and materials to take care of rust efficiently, effectively, and safely. Check your tool shed or garage for the following; anything you don’t presently have, you’ll find easily enough down at your local hardware store. All told, the full complement of things you need for rust repair will come to approximately $100, depending on your local prices, of course.
You will need:
- Sandpaper, or possibly a power sander
- Primer
- Paint
- Clear Coat Paint
- Poly Sheeting
- Tack Rag
- Masking Tape
- Safety Equipment
In terms of your sandpaper, what you need depends on the extent of the job. If you’ve spotted a small amount of rust and you want to nip it in the bud, you’ll probably be fine with just some regular sandpaper and good, old-fashioned elbow gross. However, if this article is a wakeup call, and you haven’t cleaned the rust off of your car since the Bush years, then it’s likely you’ll need something that plugs into the wall or runs on battery unless you’ve got the endurance of a mule.
For paint, you will need a few different paints, available in a few different formats, specifically primer, automobile paint, and clear coat, available in aerosol cans, roller balls applicators, and spray guns. The spray guns seem like the most professional, but in reality are tricky to get to work correctly with your car’s look. It’s best to just use aerosol cans when you have a bigger job ahead of you, and roller balls for smaller, spot fixes. Find out exactly what type of paint your car was painted with to match the color exactly. You’ll need to know what sort of clear coat and primer was used on the car for the paint to hold correctly. Self-etching epoxy primer is a must, as it provides a good base for metal, as is lacquer primer for the paint to bond to. In addition, it’s a good idea to get some body filler, in case the rust has significantly eaten into the metal.
The last things you’ll need to acquire for the job will be masking tape and poly sheeting that you’ll use to mask the car, and tack rag, which will be used multiple times throughout the job. Once you have all that, ready, make sure that you have a good workspace to clean off the rust. That means plenty of ventilation, so you’re going to want to do this outside, preferably on a relatively overcast day when it’s not likely to rain. Now, you’re ready to get going.
Mask the Car
You don’t want to get the paint or the primer all over other parts of your car while you’re trying to clean off one of them. You’ll need to use your masking tape to tape down the poly sheeting over the whole portion of the car facing wherever you need to apply the fix. Aerosol cans can spray pretty far, so you’ll want to cover more of your car than you think you need to. Make sure that you allow at least a foot of exposed paint around the spot you’re cleaning rust off of, though, because you’ll want to blend the paint you’re putting down with the paint already there.
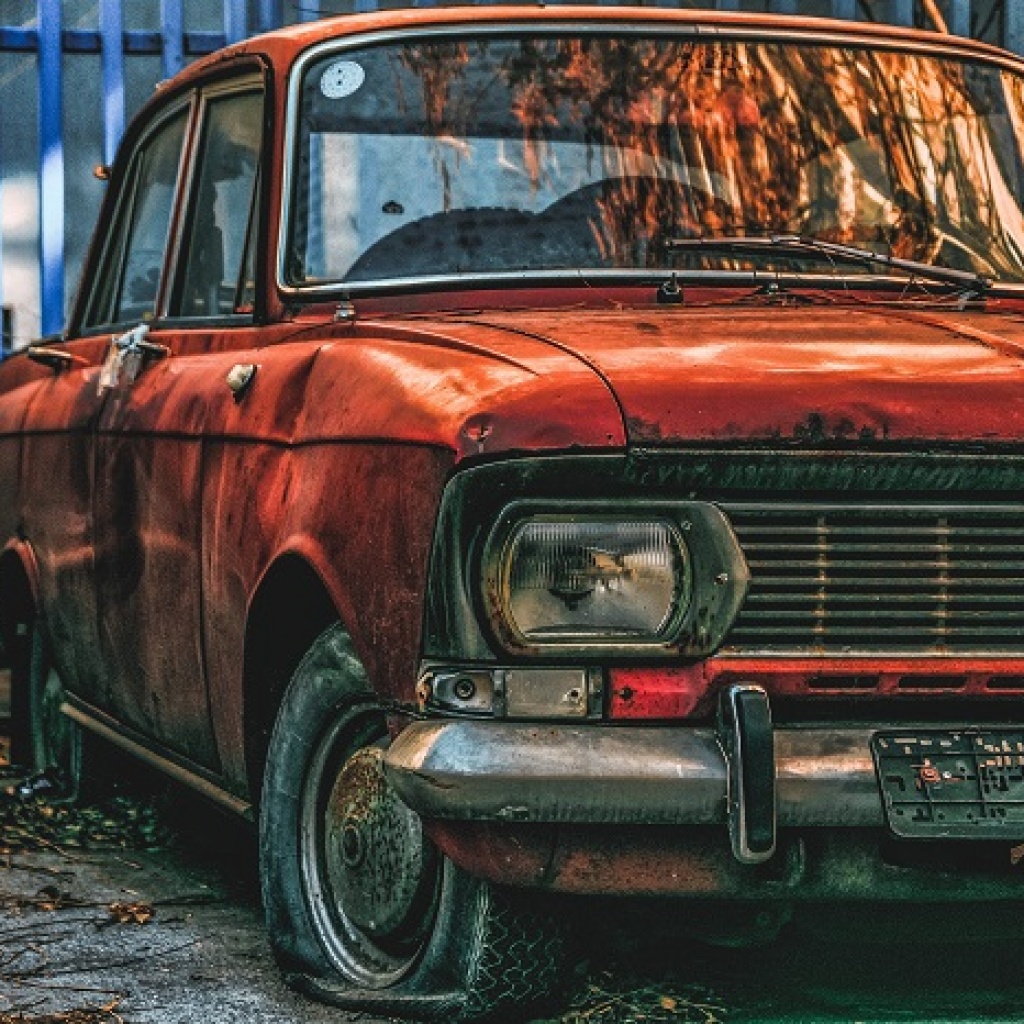
Remove the Rust
Now we’ve arrived at that hard step mentioned in the title. Getting rid of the rust is not an easy process no matter how you cut it. The good news is, you get to take care of this part relatively earlier on in the process, which means once you’re done with taking off the rust, the job is pretty easy, pretty much just requiring you to wait around sometimes to let paint dry.
Removing rust is a process going from the macro down to the micro. The first thing that you’re going to want to do is get rid of any flakes of rust peeling off of the spot; you don’t need any special tool for this, any old scraper or even a ball-peen hammer will work. Once you’ve cleared away the surface rust, it’s time to sand. Again, you can save on expense by just doing this part by hand, but rust does not come off easy, and you’ll need to put significant work into it. If you get a power sander, you’ll remove the rust more efficiently, but look out for sparks, and you’ll still probably have to hit harder to reach parts by hand. At this point, you’ll want a rougher grit sandpaper, somewhere in the area of 40- to 80-grit.
Once you’ve sanded away the rust, use your tack rag to clear the whole area of particulate. Next, you’re going to want to clean the area. This is pretty straightforward, simply thoroughly clean the area you’ve just de-rusted with a grease cutting detergent; the type you used to wash dishes should be more than enough. Rinse the area with clean water next before finally cleaning it one more time with a clean cloth to remove any remaining material.
Apply a Primer
If you need to, you can use body filler now to fill in any spots eaten away by rust, or simply use a few extra layers of the epoxy primer on those spots. Regardless, the epoxy primer will be the one you apply to the whole area first, as it provides the strongest base for the metal to bond to. Apply at least two or three coats, giving about fifteen minutes in between applications. Once you’re done, the epoxy primer is going to take about an hour to dry.
Next, sand down the primer with a much finer grit than you used to remove the rust, something in the area of 1000-grit. Once that’s smooth, you can apply the next coat, the lacquer primer, again two to three coats. Again, wait an hour before sanding the whole area with a fine sandpaper, using a bit rougher paper for any areas that have created visible drips.
Paint the Car
This is when you apply the colored paint of your particular car. If you’re using an aerosol can, you’re going to need to have the can about a foot away from the car, and spray the spot in even bands. Ball roller applicators are, for obvious reasons, much more forgiving. Just like the primer, this is two or three coats, allowing about fifteen minutes between coats, or until it looks nice. You don’t need to sand this coat unless you’ve created drips or sags in the paint, in which case you’ll have to sand that out and reapply the paint. Allow about an hour to dry and then you’re on to the next step.
Apply a Clear Coat
Applying the clear coat can be delicate and tricky. It’s not as strenuous as getting rid of the rust, but you’re forgiven if this is the one that seems like the “hard step”. You need to apply the clear coat, just like you did the other coats, but as evenly as you possibly can. That’s because runs and sags can’t be dealt with immediately. If you mess up here, you’ll have to wait a couple days before you can sand it out and try another shot, so try and be careful. The good news is, if you do mess up, it’s not unmanageable. Before your last coat, clean the whole painted area with a tack rag, and then apply that last clear coat evenly and leave it wet.
Finish Up!
Now that you’ve applied your clear coat, you’re just about done. Once the clear coat has dried, buff it out with some clean cloth and a buffing compound to make sure it shines. Do not use any machine here, just give your car some tender care by hand. Clean up your work space next, and you’re done! All you need to remember from here is to avoid waxing the car for the next month or so. The rust is gone, and your car should be looking years younger.
Sources
- Popular Mechanics – How to Fight Rust and Win
- Advance Auto Parts – How to Remove Rust from Your Vehicle
- Hot Rod – Rust Removal Guide
- New York Times – Wash Your Car to Keep Rust Away