How to Refinish Wheels: A Step-By-Step Guide
 How to Refinish Wheels: A Step-By-Step Guide
drivrzone.com
How to Refinish Wheels: A Step-By-Step Guide
drivrzone.com
There’s a certain pride that everybody takes in their vehicle. After all, your set of wheels says a lot about you! There are so many stereotypes out there about every make and model available. Now, whether or not you believe in the stereotypes is entirely up to you, but they’re good to at least be aware of. When you see a Subaru, for example, what do you think? Somebody sport, athletic, and always seeking the comforts of nature? And Chevrolet? You’ll probably think of somebody patriotic, sturdy, and down to earth. There are even stereotypes about big trucks! We won’t talk about that particularly risque topic, however. You know what we’re talking about.
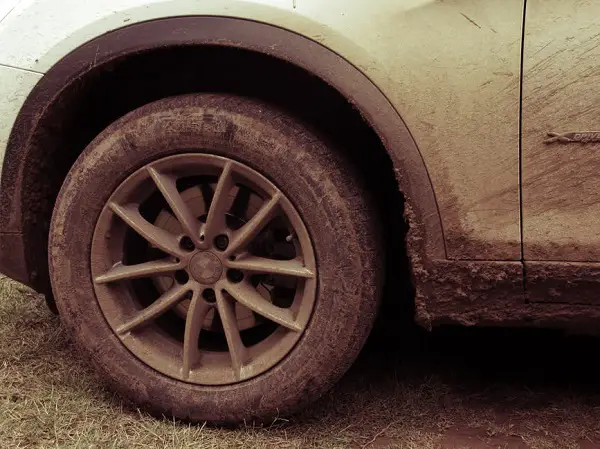
Dirty vehicles say a lot about you, too. Damage, debris, and dust are all markers of somebody who doesn’t take good care of their vehicle. Regardless of how much downtime you have to commit, it still reflects on you as a person. That’s why it’s important to keep up with general maintenance when you can! A quick carwash here, a minor detailing job there; it all adds up. We understand that not everybody has a whole lot of spare time laying around that they can dedicate just for their car. That’s why we’re always here, providing you the best tips around for quick, effortless jobs that’ll leave you wondering why you didn’t try it sooner!
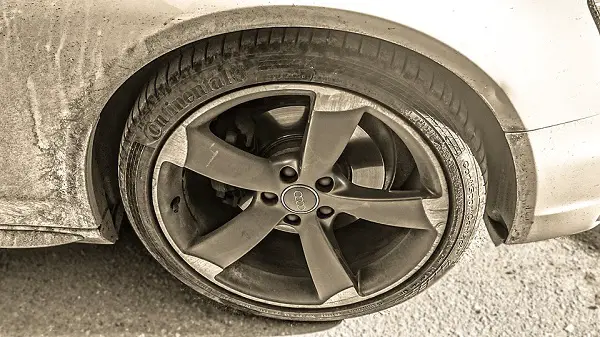
Today we’re going to go over how to refinish your rims. This is an important part of vehicle upkeep! Because of their position on your car, and their very purpose, wheels are the perfect target for all sorts of abuse.
What it all comes down to is how you want to be seen by the public. Do you want to be the person who drives “that” car? You know the one, I’m sure. We’ve all passed by a car and have been tempted to write “Clean Me” on a window… if the owner hasn’t already. These silly shenanigans are all fun and games, of course, until you realize how important a clean car really is. It’s not just about looks or your appearance to strangers. Most of us aren’t shallow enough for that to really matter. So, why are rims so important to clean? And why does it matter so much? We’ll go over exactly why, as well as how to refinish like a pro, right below. Keep reading for an essential guide you can’t miss!
Why Bother?
Simple: resale value. Of course, this isn’t the only reason. It’s just a really big, glaring one that flashes in red neon with a dollar sign next to it. Being able to sell your car once you’re finished with it and ready to move on is so important! It can be the difference between a sizeable down payment or, if you’re buying used, being able to buy the next vehicle outright. As they say, money talks and all else walks. So, let the money talk! Rethink your entire opinion on wheel cleaning and refinish those babies!
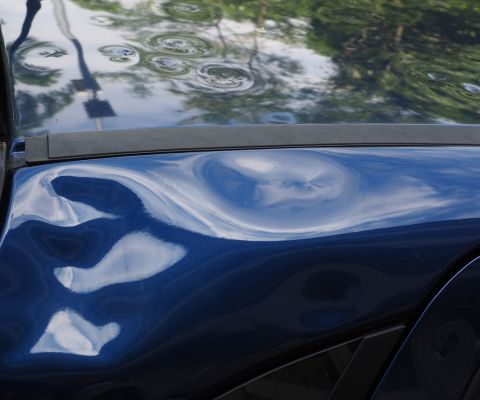
Another point in the “Refinish those rims!” camp is excessive damage. There are so many problems that can arise from neglecting this essential part of your vehicle. Letting decay take hold of your wheels is never a good idea, and can end in disaster. There are certain parts that can go bad but not majorly impact your ability to drive. Unfortunately, the wheels are not in that category.Rustis a huge concern, as well as corrosive materials coming into contact with the metal. This can cause decay over a period of time, and will eventually eat away at the metal. In other words: not good!
Refinish Or Replace?
This is a question on many minds when it comes to wheels that may be too far gone. We recommend at least trying to refinish them yourself. You might be surprised at how much you can turn them around! If all else fails, by all means, replace them. But first, give the steps below a try. We’ll also include a few quick tips on extra tough jobs, and what you can do to go the extra mile in wheel recovery. Get it? Extra mile? Okay, we get it, we’re not a comedy website. We’ll leave the funnies to the experts from now on.
What Are Rims Made Of?
Excellent question! Most rims are made out of an aluminum alloy. An alloy is simply a metal which is created by combining two or more metallic elements. This creates a more durable, longer lasting structure on a molecular level. Alloys are generally the way to go for all things automotive! Rims can also be fashioned from steel, although this is a less popular choice. The process is essentially the same for both of these materials.
So, let’s get to it!
How To Refinish Your Wheels
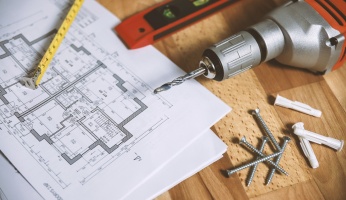
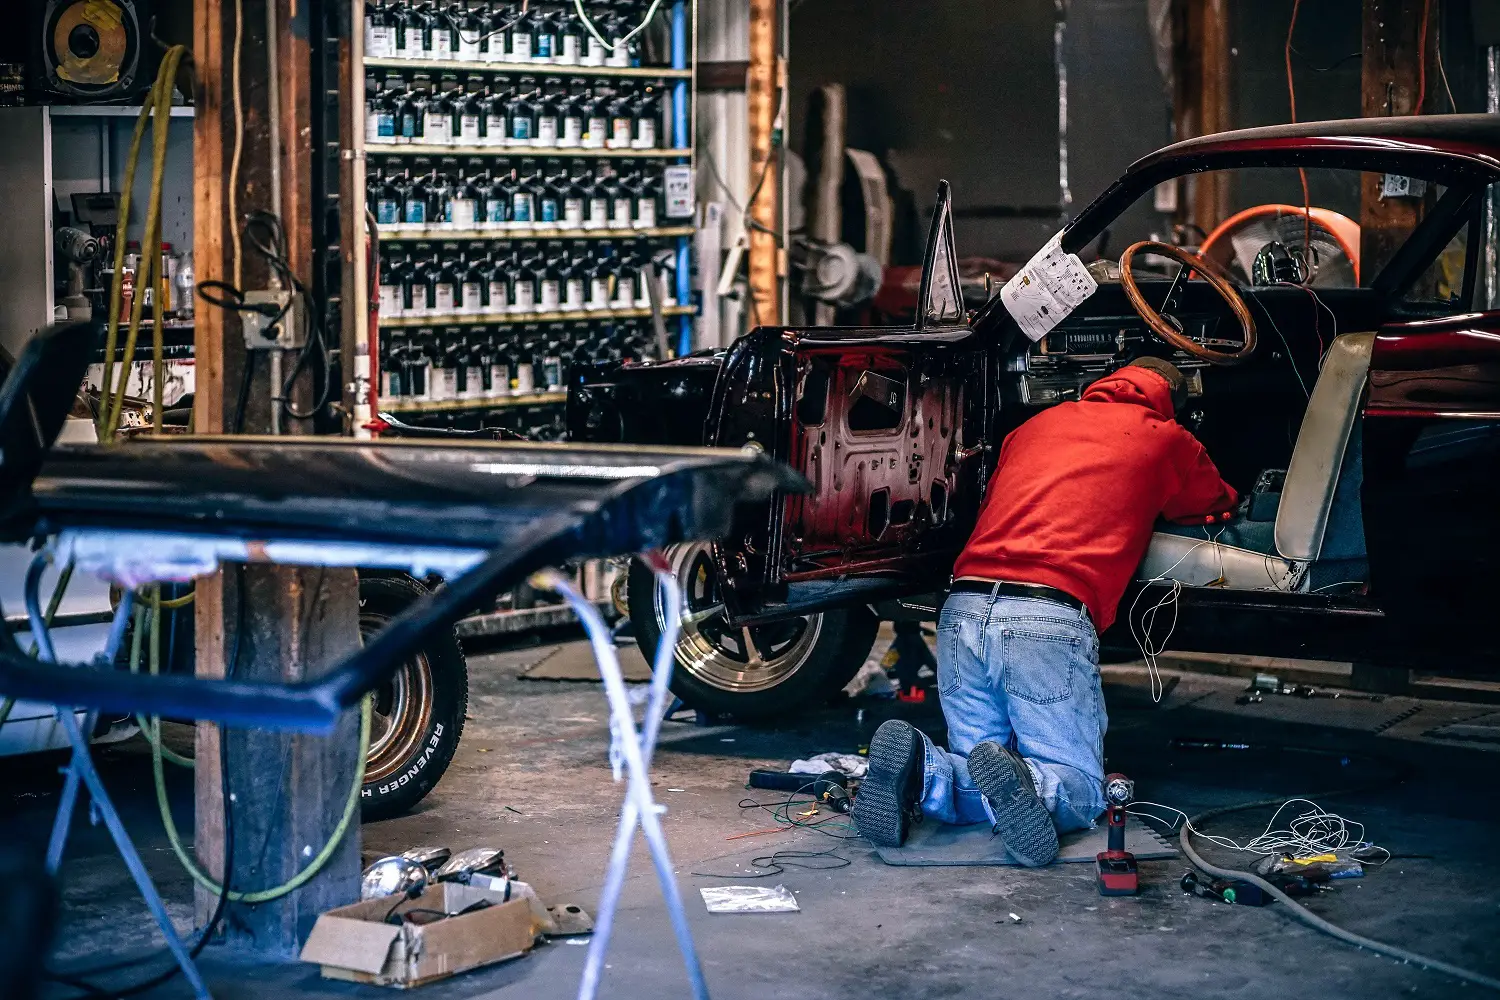
Taking your car into the shop to have the wheels professionally refinished can cost quite a pretty penny. DIY is becoming more and more popular for folks everywhere, and with the high cost of car repair, it’s easy to understand why! Whether this is your first rendezvous with self-taught repairs, or you’re an automotive expert, this guide is all you need to get ‘er done! First, let’s go over what you’re going to need:
Tire Supplies:
Bucket of water
Tire cleaner
Wheel brush
Rim Supplies:
Sandpaper
Primer
Clear coat
Metallic spray paint
Masking tape
Tools Required:
Carjack (Optional)
PPE (Personal Protection Gear)
Cordless Drill
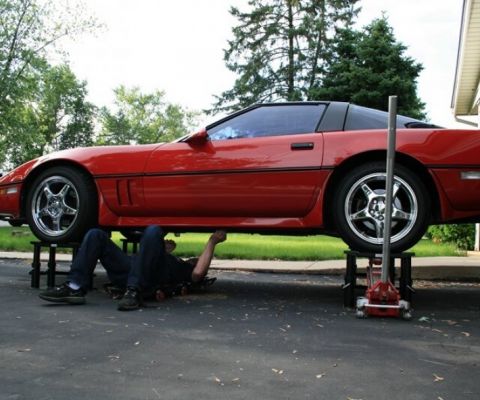
On Or Off?: You’ll have to decide whether or not this will be easier for you with the tire still on the car, or off of it. You can only complete these steps with the tires still attached with a jack, however! This can ease the process since it allows the wheel to be free-spinning. If you don’t have access to a jack or don’t like the idea of it, feel free to remove your wheel instead.
Quick Tip: This project will take quite a long time! Make sure you’ve set aside enough time in order to get them all done in one go. It should take about two hours per wheel, so keep that timeframe in mind.
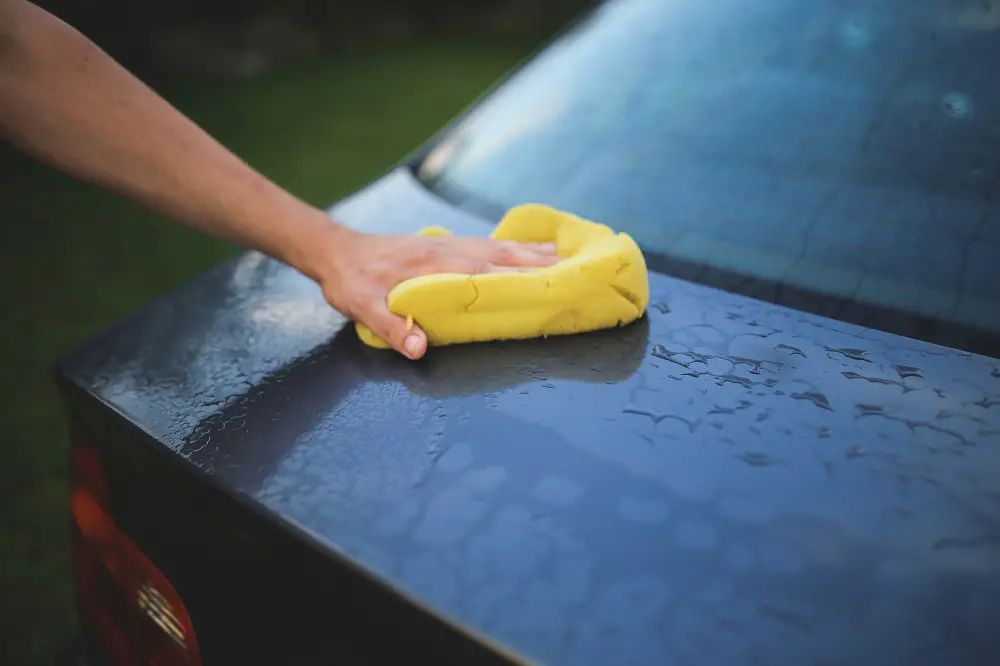
Wash Your Wheels: Once you’ve decided how to tackle this job the first step forward is giving your tires a much-needed scrub down. You want to really make sure you have them spotless! Dirty tires can trash the clean, finished look that you’re going for. When your rims are sparkling again they’ll make filthy tires look so much more tired than they might actually be. If you need a guide on washing your tires we have an excellent one available on our blog! You should have a wheel brush, as well as a dedicated wheel cleaner. Both of these products are necessary before you can begin the rest of the process. Take your time, go slow, and be thorough. Let your wheels dry thoroughly, and then move on to the next part of the process!
Time For Tape: Once your wheels have completely dried it’s time for the next step – tape off the wheel. Use masking tape around the inner portion of your tire to keep it safe from corrosive materials. You should place the masking tape in the small space between the tire and rim for complete protection. You can also put plastic sheeting on the tire itself once the masking tape has been carefully placed around the inner portion of the tire. As your last step make sure to tape off the valve stem as well.
Quick Tip: If you want to avoid having to tape your tires feel free to completely remove them from the rims. This is an advanced level project, however, so be mindful of your capabilities if this is the route you go.
What Goes Where: You want to remove your balancing weights since these will create a horrible eyesore if you refinish your rims with them still in place. Mark every position on the masking tape, however, before you take them out! You want to be able to put them where they belong to ensure safety and wheel integrity.
Protect Yourself: Now, if you haven’t already done so, it’s time to don your PPE. This stands for Personal Protection Equipment, and it encompasses a wide range of products. All of them are designed to keep you safe during automotive work. We recommend goggles, plastic gloves, and a face mask during this process.
A Total Rim Scrub Down: Now you will start to clean the rims themselves! Degreaser works absolute wonders on rims, and can easily clean off build-up grime. Wax, dirt, and other particles from the road stand no match against it! As with any other part of your car you want to make sure that they’re completely free of debris once you begin. Otherwise, you might scratch up the metal surface of your rims… which is, in all honesty, pretty counterproductive to this project specifically. As always, let them dry completely before moving on.

Time To Prime: We recommend that you use two coats of primer. This will give you a better base to build off of. To ensure the best outcome allow time for the primer to fully dry before moving on. See the directions on the product to determine how long you should wait.
Quick Tip: Make sure you have bought enough to finish. We recommend getting two cans of everything to make sure you don’t run out. In the worst case scenario if you don’t use it all you now have extra for next time!
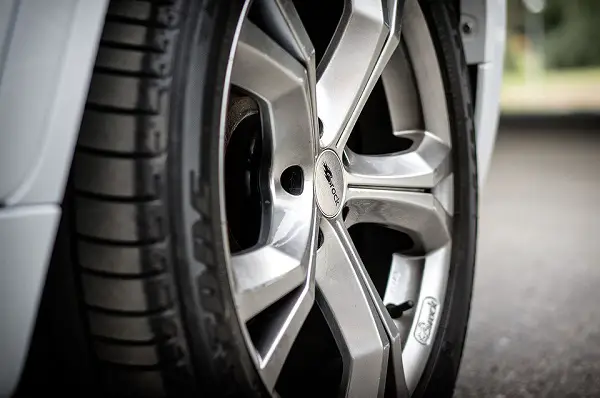
Paint It Black: … Or silver! When you’re sure the primer has thoroughly dried begin by applying three coats of paint. Again, allow them to dry between coats! You will use the clear coat after the paint, with a total of two coats for maximum effect. We recommend using metallic spray paint since this will match the alloy of your rims perfectly. Give that baby a clear coat or two, wait for it to dry, and you’re good to go!
Spice Things Up: You could keep your rims that classic silver color or you could switch things up! Since you’re refinishing them yourself you can always add a “Pop!” of color. We’ve seen people do red, pink, black, and more. The possibilities are only limited by your imagination.
Wait It Out: The final step! There are only twenty-four hours between you and your shiny new set of literal wheels. You’ve successfully completed refinishing your rims! Congratulations! It wasn’t even that hard, was it? Repeat this process on every tire and you’ll be cruising in style for quite a while. Keep up with regular cleaning, however, to avoid serious build-up.
These simple steps will lead you on a path to perfection! You won’t even realize what a confidence booster it is knowing that your vehicle is looking its best. It’s a huge plus, too, that this can bolster your confidence in tackling other, more difficult DIY jobs. We have an entire section full of helpful tips and tricks for pretty much any occasion. No matter the size of the project, the time it takes, or the level of difficulty, Motorful is here with you every step of the way. Keep reading, and we’ll keep busting out these DIY project guides!
Sources
- Family Handyman – How to Refinish Wheels
- Instructables – How to Refurbish Car Rims
- My Plant Dr – DIY Restore of Corroded Aluminum Wheels & Rims