Basic Motorcycle Maintenance Every Biker Should Know
 Basic Motorcycle Maintenance Every Biker Should Know
drivrzone.com
Basic Motorcycle Maintenance Every Biker Should Know
drivrzone.com
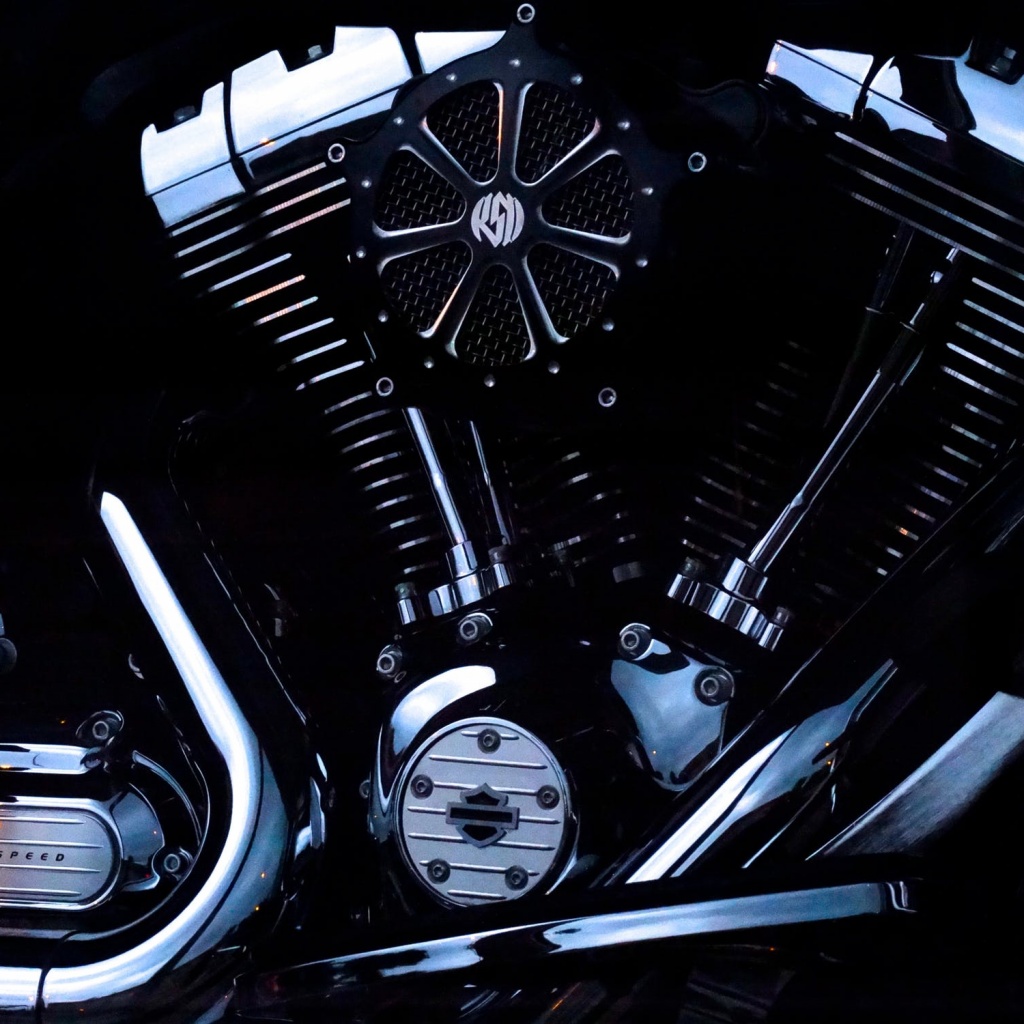
A framework standard since the dawn of French engineer J.J. Etienne Lenoir first built a spark-ignited piston engine in 1859, these are controversially the most intricate, yet simple mechanical engines still used today.
If you are, like myself at one point, on the precipice of your engine education, starring at this oddly shaped engine attached to the frame of a motorcycle, know that the mechanical aspects of motorcycle engines are not the most difficult mechanism to understand.
It’s intimidating.
But I can also assure you that there isn’t really a need for you to know every inch of wire and metal that you ride on, how they work, or what they do. It is, however, important that you get some sort of grasp on the situation you’re straddling.
The obsessive of us (motorcycle riders) get down every tiny detail.
Motorcycle maintenance is like dancing. Except for the part where your partner in this number is a high-speed thrilling freedom machine that costs less in gasoline than is serves up in sheer happiness.
Consider if you will, your current place in life, and your future aspirations for your life in motorcycling. There are, dozens of great dances that could help you survive certain situations. Then there are the type of dances that will make everyone in the room freeze and watch you do your thing.
You can take the dancing very seriously, and your relationship with your dance partner will be greater than it ever could be without it. Or you could keep your partner happy, and learn just enough to sustain the relationship and keep both parties sound and pleased.
What you should do, is nothing. Plenty of people – and maybe this is a symptom of lack of caring, or perhaps a side-effect of money, but either way – would much sooner pay someone to solve their problems for them, instead of learning how to fix things themselves.
It’s essential, in so many more cases than just motor vehicle maintenance, that people strive to be able to do things on their own. Note, this is not me saying that those without knowledge on something aren’t capable human beings. This is a commentary on things up to a certain level of extensiveness.

Don’t be dependent on “experts” or mechanics for the little things. If it’s an everyday thing, you should be able to solve your problem.
I had an aunt that blew my mind when I was young, and as we were stuck on the side of the road, in the middle of nowhere, she stuck to her guns and rolled up her sleeves and changed a double flat tire. I was in awe of our family hero. Other people I’ve known would have sat in a bundle on the edge of the street and called a car service to come and change that same tire.
It’s tricky, but I think I’ve figured out a good bar to stay ahead of. But before we get there, let me assure you that taking your motor vehicle (no matter how many wheels it has) to a professional from time to time is extremely important. No matter how confident you get in your abilities to do work on engines and electronics, there is always an opportunity for failure, or ineptitude. We all make mistakes. And some of the failures in maintenance can result in catastrophic injury or damage to either you, others, or property.
Keeping in mind the extra dangerous nature of riding motorcycles, and you just can’t afford to work on extensive portions of the mechanics within your bike if you are not comfortable.
Basic maintenance
There are a handful of things that every motorcyclist should know. If you read my recent piece on Motorcycle Training, and you go the private riding school route, you might just have a first-hand teacher that is able to walk you through a very essential list of things. But if you don’t, I’ll run through the short and long lists of checks and maintenance.
The pre-ride maintenance is the most important. These are the checks that will alert you to changes or needs your bike might need as you put more miles, and take more trips. Nothing will be more important to your daily riding life than this very short, and extremely simple list.
Don’t skip them. You can afford the five minutes (max) that it will take to prolong your riding life, and the health of your motorcycle.
Once you’re ready to go, and your gear is taken care of and on, start your bike and take a step back.
Assuming it started up nice and fine, the first thing you want to do is a full walk around.
The walk around:
Check your lights. Use those beautiful eyes of yours to make sure that all of your running lights are on. This usually consists of a headlight and a tail light, but can be more depending on model, or modifications.
Check your oil level. Every motorcycle has a gauge, or a window that will allow you to check your oil levels. In order to get the most accurate reading, you’re going to want to wait until your motorcycle has warmed up—which can take a couple of minutes depending on how long it has been sitting, and what the weather is like.
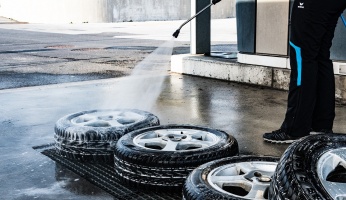
Grab your tires. Reach your hand down and put your palm flat on the part of your tire that touches the ground. Wrap your fingers around to the wheel frame and squeeze or push down into the tire. There should be little to no give, and if there is more give than there should be, you could have a flat, a dead tire, or a slow leak on your hands. Trust us, you definitely want to catch those before heading out into traffic.
Rattle your chain. Yeah, you read that right. Reach down with your smooth and clean hands, and rattle your chain (if your bike is a chain drive, of course). If it’s extra loose, you might have a mid-ride slip and that’s very bad. If you have a belt drive, check for cracks or harsh wear. If you’ve got the space in your carry baggage, or you have motorcycle storage and you’re going on a day trip or more, you should carry a replacement belt.
Test your controls. While your bike is in neutral, and you’re doing your pre-ride inspection, make your way to the right side of your ride, and twist that throttle. If all sounds normal, move on to other controls. Test your horn (if you have one) test your hand-brake input to your rear lights (make sure it gets brighter when you squeeze the brakes), and do the same for your brake foot pedal. Finally, reach across (unless you own a Harley who has decided to make two-sided turn signals a standard on all of their models) and check both turn signals to make sure both the front and the backlights are working as they should.
Straddle that bike. You don’t have to go anywhere just yet, but sit on your motorcycle, and stand it up. While most manufacturers these days equip their models with a gasoline gauge, but for those like myself that are blessed with an aging beast, we have to sit up on the bike and give it a shake side to side and listen to gauge how much gasoline you’ve got in the tank. Now that you’re astride your bike, you can also pull in that clutch and check to make sure your gear pedal is functioning. Throw it into first, and back up into neutral.
Move those mirrors. From here you can also adjust the mirrors as needed, try to get the very edge of your body in the close side of the view, with the tire straight out in front of you. Most likely you will need to adjust these more on the fly once you’ve been on the road for a hot minute.
Once your pre-ride inspection is done, and everything seems good to go, make sure you (physically and gear-wise) are road ready. Enjoy.
This small series of tests prior to hitting the road is crucial to your continued health, and the operational state of your motorcycle. From our dancing analogy, this is your go-to. It must be done.
The extra bar.
Your everyday riding checks are the gold standard for keeping up with your motorcycle, but what about actually maintaining it? Well, there’s a good bar for that.
The bar you should set is “side of the road”. If you’re looking for some simple things to learn, and want to be a decently capable motorcyclist, you’ll want to be capable of performing any sort of maintenance that can be done on the side of the road, with your onboard toolkit.
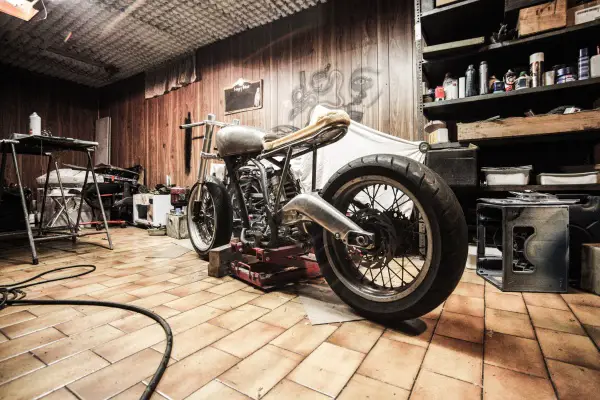
For things like your chain, you’ll want to clean and lubricate it when it doesn’t pass your pre-ride inspection (it’ll be dry and/or it will be loose). For this you will need lubricant, and (if you can spare the room in your garage or home) a rear wheel lift. Performing basic chain maintenance is as simple as lifting up your tire, whipping down your chain, and spraying it with lubricant while spinning your tire.
Your battery deserves some love too. The best way to maintain your motorcycle is to keep the battery topped up and tended to, especially if you know or are planning to leave it covered up and not ridden for a while. If you’re lucky enough to have your own garage, consider the easy-to-attach plug-in battery tender. These attach via nodes directly to your battery, and you just need to plug it in while your ride is sitting idle.

Often there are tasks you need to do that are model or manufacturer specific. So, become familiar with the manufacturer’s model service manual. That book is your bible for keeping a happy bike.
You should change your oil every 3-4,000 or so, but your motorcycle’s service manual might (should) have a better, more exact number. For this you’ll need to find your bike’s release valve, to empty out your old oil, and (after consulting your service manual to find out which specific type of oil your bike needs) then refill using enough oil to put you in your safe zone, which will be displayed either on a gauge, or through a little glass window.
Remember, no matter how serious you are about riding, or how often you do it, the small things matter. You should have them covered.
The relationship between you and your ride is a beautiful one, and deserves attention. Expect your motorcycle to give you as much as you’re willing to give it. No matter your available funds. No matter your free time. Your world will flourish if you continue to learn, and grow familiar.
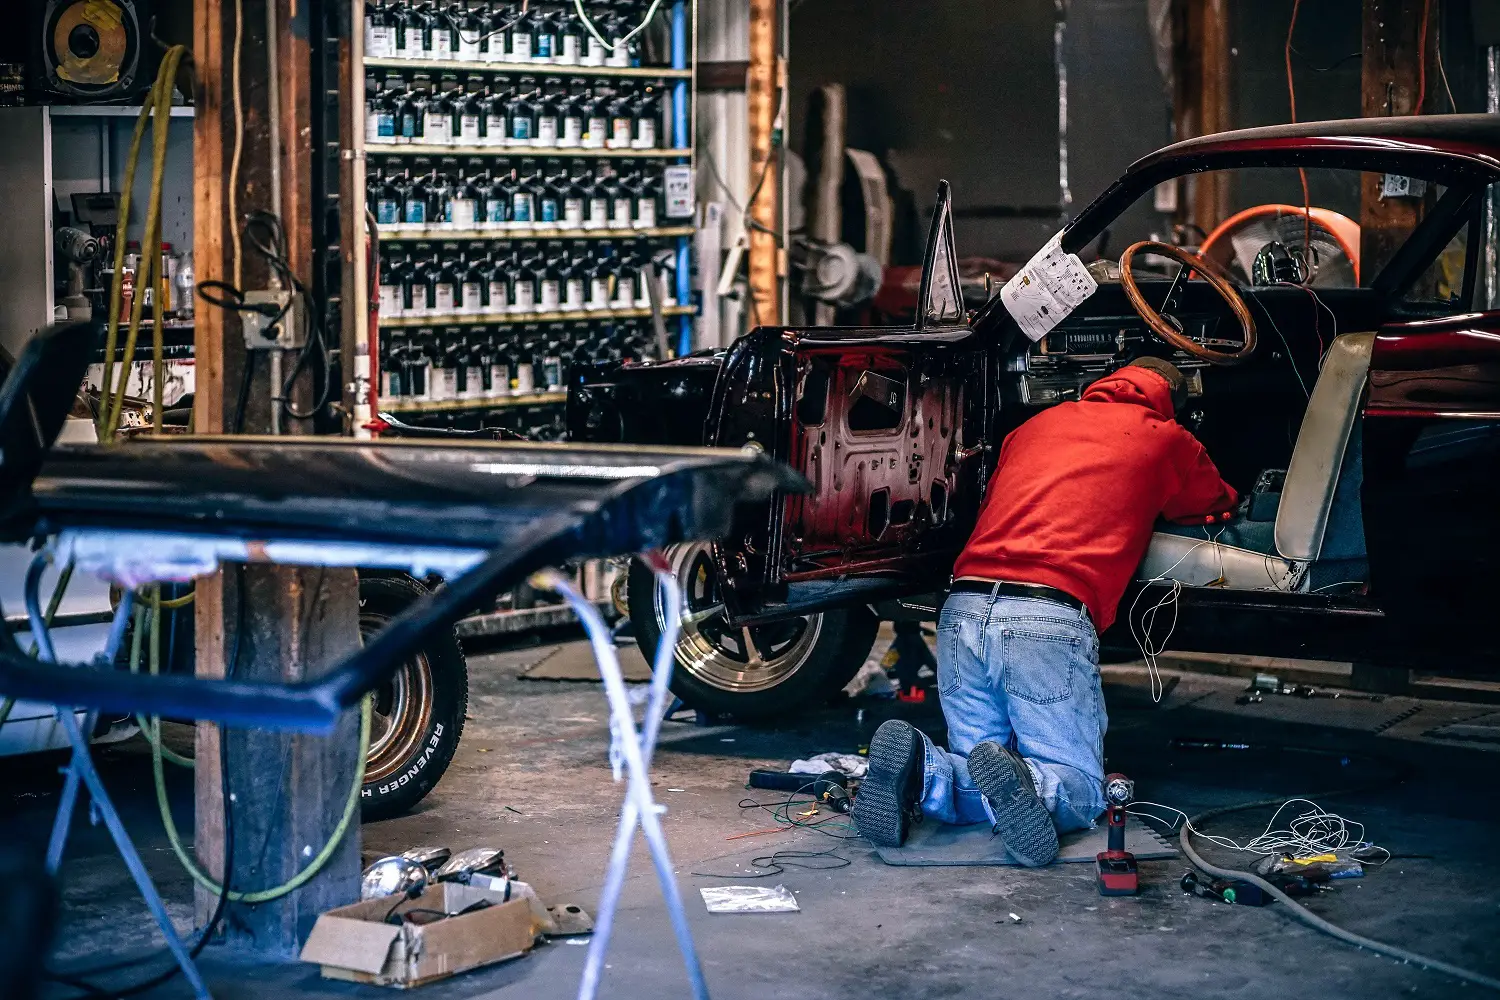
Disclaimer – For important internal mechanical work, please take your motorcycle into a professional mechanic. If you find someone nice (like I have) then they won’t mind if you hover over their shoulder and ask a million questions while they do their work. It’s important to not rest your safety on your own handiwork if you’re not a trained professional. This rundown is simply a short list of tasks you should be able to conduct yourself.
Sources
- Amazon – Small Toolkit
- Elf – Moto Oil FAQs
- Thought Co – Motorcycle Restoration & Repair