Car Window Tinting: Should You DIY or Hire a Professional?
 Car Window Tinting: Should You DIY or Hire a Professional?
drivrzone.com
Car Window Tinting: Should You DIY or Hire a Professional?
drivrzone.com
Window tinting on a car is typically installed for one of a couple of reasons, and this will depend on the needs and preferences of the vehicle’s owner. That being said, there are quite a few benefits to this that not all vehicle owners consider. This makes tinting your car windows an amazing idea. Let’s take a look at a few of those benefits.
Benefits
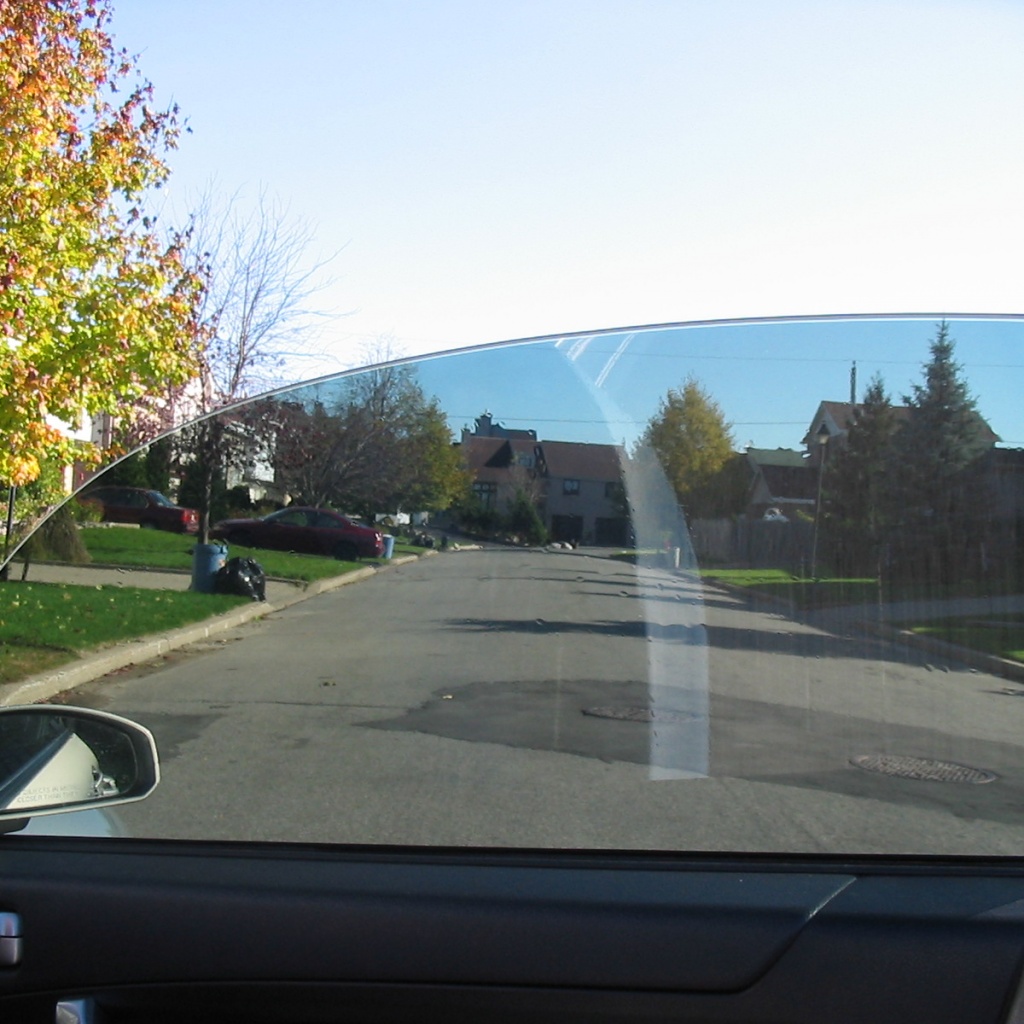
- Better driving. Driving while the sun is right in your face can be more than annoying. It can actually be deadly. Having tint on your windows can shield your eyes while preventing glares from any source of extreme light. This means that you won’t have to worry about the sun being in your face or glaring off the rear window of the vehicle in front of you anymore.
- Protection for your upholstery. UV rays and heat from the sun can fade and crack your upholstery with the passing of time. Did you know that you might be able to prevent or prolong this? You can, with window tinting. Putting tint on your windows can keep the interior of your vehicle from getting hot enough to crack, fade, or warp your upholstery while also blocking as much as 90% of those harmful UV rays.
- Sometimes we all have to drive through unsavory places, right? Window tinting can protect your privacy regardless of where you might happen to be. Aside from that, it can also protect anything that might be in your vehicle when you aren’t around.
- Shatter proof. Tint can keep the windows in your vehicle from shattering in the event of a car accident or if something hits your windows. This can actually add another level of protection to the lives and safety of you and your passengers in case there is anything unexpected that happens while you are on the road.
- Staying healthy. UV rays and direct sunlight don’t merely damage your skin. They can also cause skin cancer when you have too much exposure to them. You can reduce those harmful rays by as much as 99% if you get the right tint installed on your car windows.
- Keeping cool. If you get the right tint for your windows, you will be able to reduce the buildup of heat in your vehicle during those sweltering summer months by as much as 60%. This can make your ride to work and home so much nicer.
Hiring a Pro
Yes, it can be quite tempting to try to install window tint on your car yourself, but there are benefits to hiring a pro that you just don’t get when you DIY it.
Tinting the windows in your vehicle is a fantastic way to enhance your privacy while also reducing heat and glare. You generally have 2 options for getting your windows tinted. You can get a DIY kit and do it yourself, or you can get it professionally done. You might save a few bucks with a DIY kit, but getting it done by a pro can offer benefits that installing it yourself doesn’t.
The thing about tinting the windows in your vehicle is that if it isn’t fitted properly, it can act as a magnet to dust and debris and this can make your vehicle look nasty. It can also make removal costlier. Here are a few more reasons to let a professional do this for you.

- Knowledge regarding local regulations. Dark windows can be a safety hazard for those in law enforcement who make traffic stops. For this reason, many areas have set limits on how dark the tint on vehicle windows can be. Professional window tinters stay in the know when it comes to these regulations. Doing the job yourself can’t give you that assurance.
- Getting it done right the first time. Even if by some chance you are successful in applying the tint to your windows, you might not get it done to perfection. It can be difficult to try it again to make it perfect. Removing the tinting film is incredibly more difficult than putting it on because of the adhesive on the back of it that makes it stick to the glass.
- The how to factor. Unless you purchase one of the most expensive, professional grade kits to tint your windows, you may come to find that the tinting film included in the kit is temperamental and flimsy compared to the tint used by a professional window tinter. Tint for windows can be difficult to work with as it is, because even the slightest breeze can cause things like crinkles or creases. It can also be a chore to keep any sort of dust or debris from sticking to it. Experienced professionals use film that is of a higher grade and can ensure that they install it without those annoyances like debris, air bubbles, crinkles, and creases.
- Most people buy DIY kits as a way to get their windows tinted for less money than it would cost to have a pro do it. That being said, the low-grade film that comes in those kits doesn’t always give you great results. For example, many people want to tint their windows to keep their upholstery from fading and cracking. The film provided in these DIY kits just isn’t of the quality that will offer that sort of protection. In a best-case scenario, you might get a bit of shade in the vehicle, but with no protection from UV rays and the sun.
- Get it guaranteed. If you have your windows tinted professionally, and they do a job that you aren’t satisfied with, you always have the options of getting your money back or having them redo the job. If you do your own windows, you will have to struggle to get the tint off the windows, buy another kit, and go through the hassle of doing it all over again, without any guarantees that you will do it any better the second time around.
Choosing the Right Tint
There are quite a few products on the market when it comes to window tinting. How can you differentiate between quality materials and ones that are of poor quality? You will just have to rely on someone who has a bit of experience with window tinting. Additionally, if you decide to do this yourself, you will need to make sure that you have all of the tools that you will need to get the job done right. The blowers that you need for this type of job are expensive and once you use them, you might never pick them up again. This is just one more reason to let a professional do the job.
DIY It
You really don’t need to pay possibly hundreds of dollars just for labor to get your windows tinted at a professional shop. This is a job that you can do yourself. Doing this will ensure that you stay cooler in those hot months, will protect the interior of your vehicle, and can even add a bit of value to the vehicle if you decide to sell it.
What You Need
Window tint is available at many auto parts houses. Depending on where you go, you can get a kit that has most of what you need (minus the tools) or you can buy everything separately. You will also need the solution for applying the window tint film, a special lint free cloth for cleaning, a razor knife, a blade for scraping, a squeegee for applying the film, and a heat blower gun. Aside from all of that, you will also need to find a place to do the work that is free from dust. It is also best to do this on a day that isn’t too cold or too hot, and when there isn’t an excessive amount of humidity. Most importantly, you will need to check the laws in your state and city to determine how dark you can tint the windows and which ones are legal to tint.
Getting Everything Ready
When you have all of the necessary items and are ready to begin, clean the inside of your windows very well before you start. Next, apply the solution for application to the window on the inside. Make sure that you don’t get any of this solution on the door trim.
Use your scraper blade going across the window from one side to the other. Start at the top and work your way down to the bottom of the window. This will make sure that all debris, grime, and dirt that might have been left from when you cleaned it is removed. Try not to gouge your window with the blade in the process.
Now, use your squeegee on the window repeating the path of the scraper blade to make sure that any excess solution and debris is removed.
Applying the Film
Now is the time when you will put the application solution right on the outside of your window and then roll the tinting film over your window making sure that the layer of protective film is facing upwards. The application solution will make sure that the film stays in position while you try to cut it to the right size, but it will also let you move the film as needed to ensure that you get a cut that is precise.
You can use the squeegee on the tinting film to ensure that it doesn’t move on its own.
If you have windows that slide, you will need to roll your window down from the frame of the door about ¼ of an inch and then cut the sides and top of the film in the correct shape. Use your window as a template. You can then round the edges using your fingers.
You will need to slide the tinting film up about a ½ inch before you cut it along the base of the window. Use the gasket around the window as your guide. This ensures that you have coverage that goes just beyond the bottom of the window. For windows that don’t slide, use your gaskets in the windows as your template and make sure that you cut the film exactly to the edges. Then, you will be ready to spray the application solution on the inside of the window you are working on.
Stick the tinting film to a corner of the window using clear tape and start peeling the liner from the tinting film. Spray the application solution on to the adhesive side of the film as you go. Throw the protective liner away and take the film from the outside of your window and put it on the inside of your window. You will need to fold the bottom edge of it back onto itself so that it doesn’t touch the trim on the door.
Move the film into the proper place at the top of your window and make sure that you leave a 1/8 of an inch gap from the top edge of windows that slide. Use your squeegee on the top of the window to push any water and air out as you go.
Roll up your window and spray the application solution on the film again. Using your squeegee, hold the gasket of the window out as you slide the tinting film under it. Again, use your squeegee to get any water and air out.
Wrap your squeegee in the lint free cloth and then use it on the whole window. This cloth should absorb any of the application solution that remained. Us the same cloth to wipe down the paint and door trim. If you notice any fingers or bubbles of trapped air in the film, use the heat blower gun to warm the area before using your squeegee on it to move the bubbles to the edge of your window.
Repeat on remaining windows.
Now, you will have the tinted windows that you wanted.
Sources
- YouTube.com – How to Window Tint (DIY)
- In N Out Car Wash – Car Window Tinting – Don’t do it Yourself!
- Beats Studio Sale Online – Car Window Tinting Tips