Car Paint Repair: Can You Do It Yourself?
 Car Paint Repair: Can You Do It Yourself?
drivrzone.com
Car Paint Repair: Can You Do It Yourself?
drivrzone.com
Even when we are the safest drivers possible scrapes and dents happen to our vehicles. If you have ever gone in for a quote you know that having them fixed by a professional can be very expensive. The good news is, not all paint repairs need to be done by professionals. Some paint jobs can be done by ourselves when we have the correct tools. This guide goes through how to do touch-ups for yourself and saving on the (sometimes) unnecessary paint repair bill.
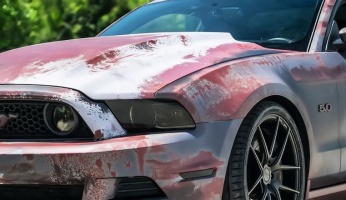
 So let’s start with what you should repair and what should be taken to a professional. There are 3 unofficial classifications of paint chip sizes: a dime, a nickel and a quarter. They can also be classified as mild, medium and deep. Check to see the size of your chip to see where it falls within those classifications. Anything deep should be taken to a professional if you desire a flawless repair job.
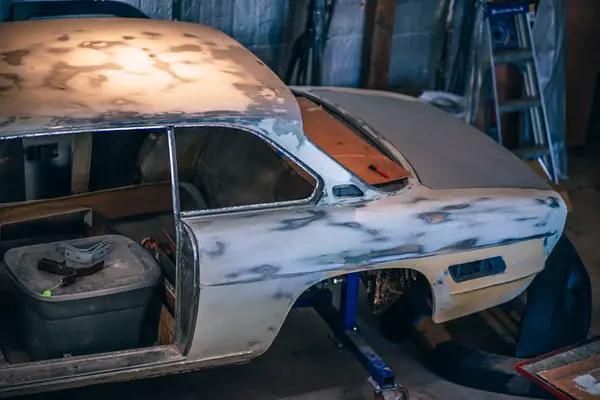
It’s important that no rust has started to form on the chip because rust, just like a disease, will start to spread. On top of that, the surface that you are painting over should be smooth and clean, rust typically is neither of those things. If rust is present it’s important you invest in a decent wire brush to at least remove the excess and bumpy rust before starting your paint repair job. If there are larger bits of rust or debris on or in the chip you can also use tweezers to pull the larger bits off before using a wire brush. If the wire brush has not smoothed the surface the next step would be to use some sandpaper. Move slow and methodical, and try to only sand the to-be-treated area without taking too much of the healthy paint off. You don’t want to make the chip bigger than it already is.
Next up: 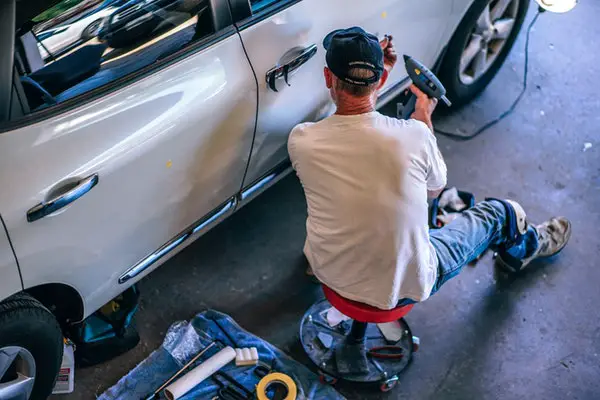
You want to clean the surface you are about to paint. This area needs to be clean of anything that will stop the paint from sticking to the body of the car (like oil or dirt). In order to clean this area, you want to start with soap, water, and a sponge. Clean up the area well, ensuring that no grease or dirt is left behind. For good measure, you can also use an alcohol swab if you have one handy to really make sure no grease is left over. It is easy to see if dirt is still present, less to see residual oils are.
Now:
You want to prime your surface. Primer acts as a binding agent between the cars surface and the paint you are applying. If there is still rust present there are special primers you can get in order to cover up the paint. If the rust is completely removed then you can use a regular automotive primer. For good measure, because the rust was present to begin with, using a rust primer is recommended regardless.
For the paint, you can go to an automotive store and tell them the make, model and year of your vehicle and they will have a list of factory colors that were available the year the vehicle was made. The color should also be available on the identification plate of your car (often on the side panel of the door or on the engine). This process can be quite challenging so, if you are still unable to find the color you can call the manufacturer and they should also be able to provide the exact color of the vehicle. Finally, you may be able to bring your VIN number in with you to the automotive store to see if they can search by VIN. Not all automotive stores have this option so you may want to call in and check ahead first. When you have the right color, then the automotive store should be able to provide the color for you.
For very light chips you can initially try a touch-up pen. This is for chips that do not go much deeper than surface level. Touch-up pens can also be found at most automotive stores. The issue with paint pens is that if the chip is too deep then in the sunlight it will be very obvious you touched it up. If the chip is very small, then this may not be an issue but if it’s fairly large then it may look off. A paint pen should be reserved for very small chips. When using the paint pen make sure to have a cloth in your opposite had in case the pen starts to over-pour. Sometimes this will happen with pens and you don’t want to let the pen drip on any other area than the area you are repairing. If it does drip make sure to remove the drip immediately.
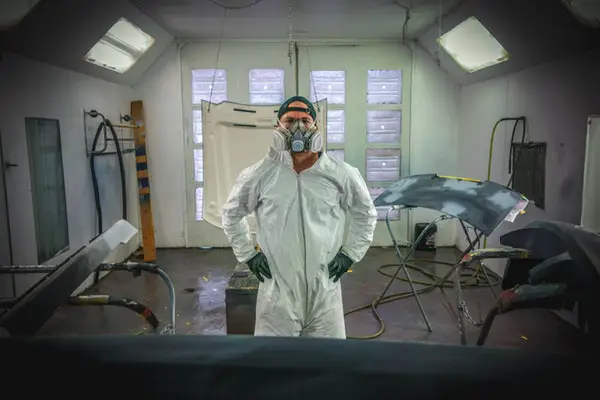
Application of the color requires either a spray gun/ spray paint or micro-fiber artists paint brush (if using a spray paint gun or spray paint can ensure to wear a face mask to avoid inhalation of toxic fumes). Either way, make sure to shake the paint well to ensure it’s properly mixed then apply a light coat over the treated area. Allow the coat to dry completely and then apply a second coat. Continue to do this until the area is fully covered. Applying light coats, numerous times is better than one thick coat. This also applies for when using a brush. If fixing up a scratch, taking a syringe along the line of the scrape and then use a brush to lightly paint over the scratch. Again, do not use globs of paint, use a thin layer and continue to apply (allowing it to dry between coats) in order to avoid unnatural dips in the paint.
 Let the paint dry for at least 24 hours before moving the vehicle. After 24 hours, wash the car and follow up with wax. Wax will act as a buffer to make the paint look more even in color and application. It will also help protect the car from more chips in the future.
You can also find topcoats at automotive stores and this will add another level of protection to your touch-up. Remember is to be patient, anything rushed will look rushed after. Be patient, take the extra steps and the repair will look like a professional job or if you do a really good job like it wasn’t damaged in the first place. Happy repairs!
Sources
- The Handyman- Touch-Up Paint
- Wiki-how- Paint Chips