A Complete Guide on How to Use a Diagnostic Code Reader
By DeborahP
0
A Complete Guide on How to Use a Diagnostic Code Readerdrivrzone.com
How many of you have called the mechanic because the check engine light comes on? They tell you to bring in the car and they will hook it up to the scanner. Once they do this, a code tells them what is wrong with your vehicle and how they can fix it. Now imagine if you could do this yourself and save yourself a trip to the mechanic to find out what the problem is. If you could do this yourself, you might also fix the problem on your own and save yourself hundreds of dollars in charges. This is possible if you get an OBD2 scanner (On-Board Diagnostics Scanner) and learn how to use it yourself at home. In this blog, we will give you the tips on how to use an OBD2 scanner yourself.
DrivrZone.com
What is the OBD System?
The OBD or On-Board Diagnostic system is a computer system that communicates with your car electronically. It will be in sync with all the main functions of your vehicle to include the ignition system, emission, engine performance and so forth. The sensors in your vehicle work with the system as an early alert warning that something may be wrong and have it checked out before something serious happens. This usually means that something is not doing its part to run your vehicle properly and safely.
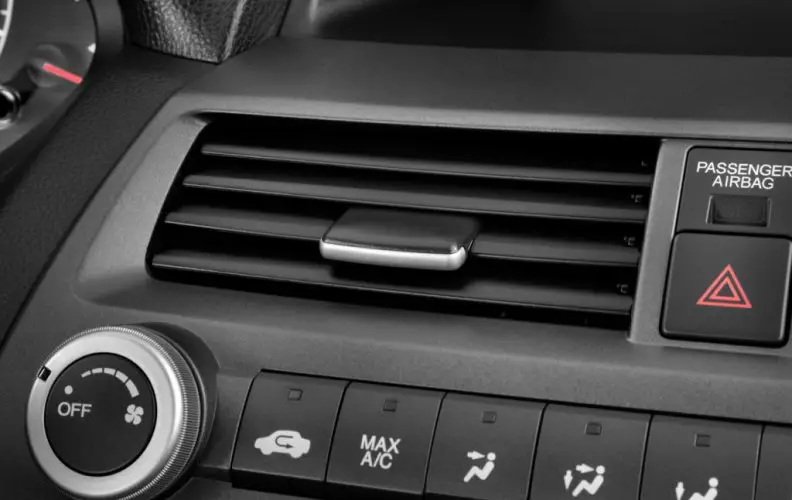
The OBD system will turn on a warning light on your dash, usually the check engine light, but can also activate your airbag light, ABS or any light you may have on your dash. This will then store a code in the system itself, and the OBD scanner can read this code.
Types of OBD2 Scanners DrivrZone.com
Today there are different scanners on the market, and all of them will give you the basic information that you would get from a mechanic, however without a charge. Now depending on what type of vehicle you have or what things you would like to look for, will determine what scanner you want to buy.
There are your basic scanners to your more high end fully featured scanners. Basic scanners will read standard diagnostic codes and clear them, while more high-end scanners will also offer tools for more advanced diagnostics and also access your supplemental systems like ABS or SRS systems.
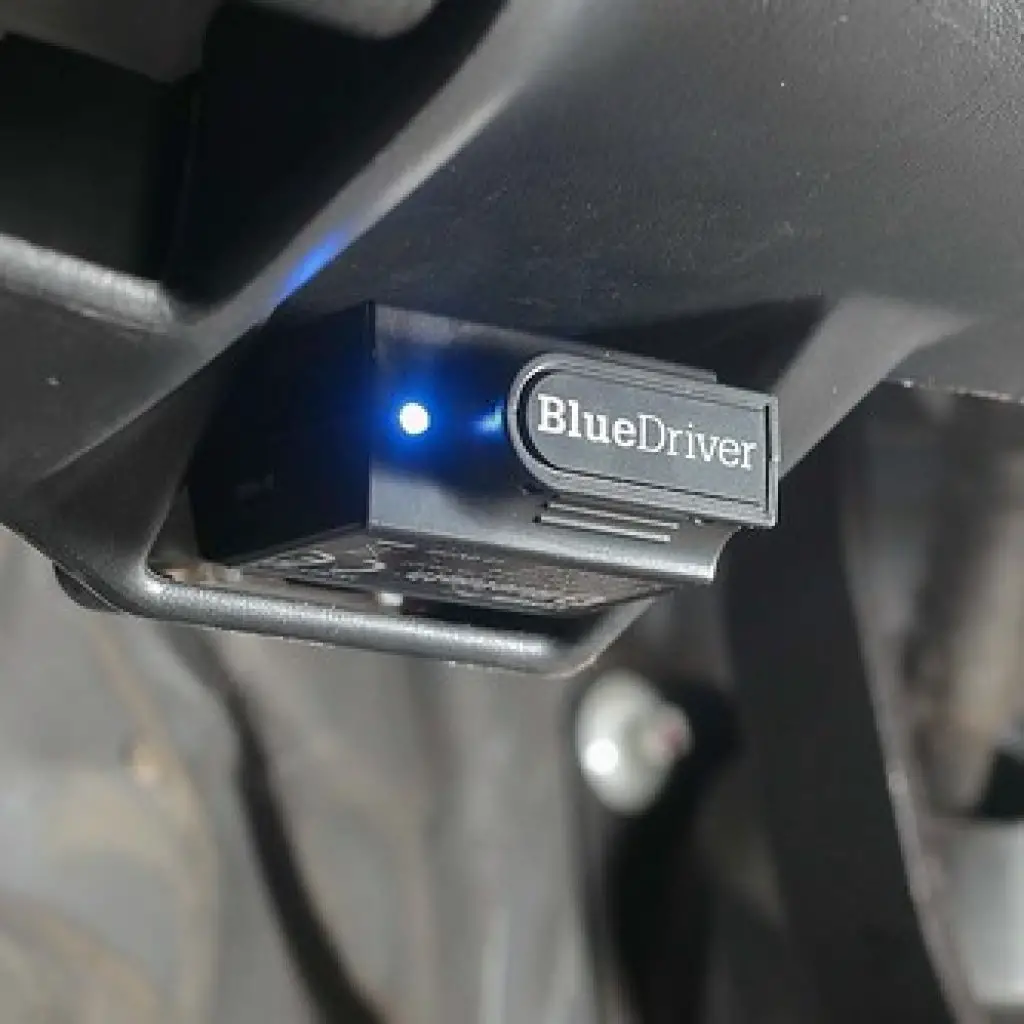
If you don’t want to purchase another tool to lie around, you can turn your phone or tablet into one of these scanners. Bluetooth scanners and Wi-Fi scanners are becoming more popular as of late, and when you do this, you will purchase a small adapter or a cord that will plug into your car and be easier to carry with you. This will also allow you to take a snapshot of what the problem is on your phone or tablet for when you go to the mechanic or store to buy what you need to fix your vehicle.
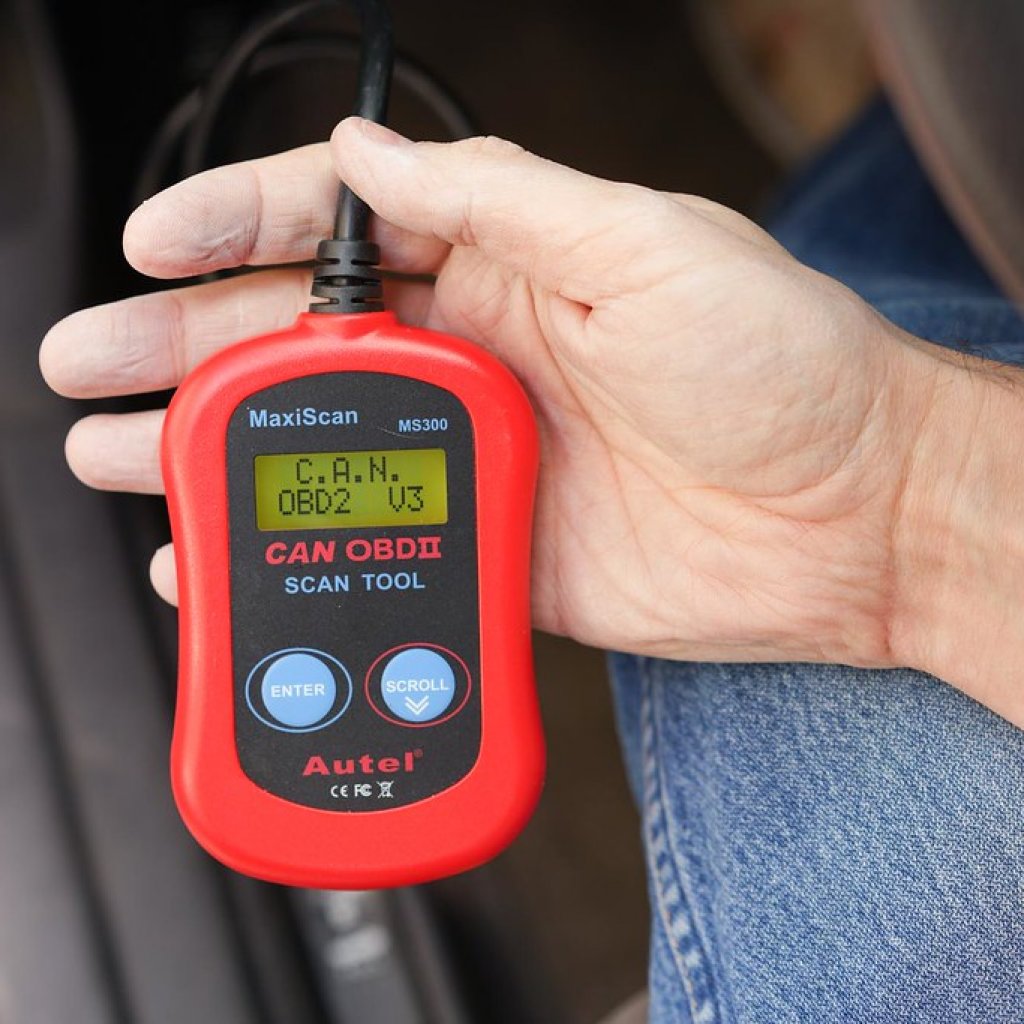
How to Use an OBD2 Scanner
The OBD scanner will read the codes left behind in the OBD system once that light turns on. There is a port under your dash, this is on the driver’s side of the car near where your knees rest at, that this scanner plugs into and then will read the code. So let’s go over the steps that you need to take for the scanner to work.
Set It Up
In order for the scanner to properly work, it needs to be turned on before plugging it into your car. Once you turn on the scanner, you need to connect it to your vehicle. In most cases, when you purchase a scanner, a connector cord will come with it called a Data Link Connector. This cable will have a 16-pin plug attached to it in which it will connect to your outlet naturally. With BlueTooth or Wi-Fi, you will plug in your adaptor or cord appropriately.
Plug It In
When connecting your cord or adaptor to your vehicle, you need to be careful. Since we only plug into this when something happens with your vehicle, it can sometimes be corroded in the port or loose. Once you do, a plugin, give the scanner time to catch up and fully adapt.
Turn on Car
This does not mean you will start your car fully; In most cases, you will only turn the key to the ON position on your ignition. For others, you will start the vehicle fully and let it idle.
Enter
Once your scanner and vehicle are connected to each other, you will hit a command on the scanner to “read or scan” system diagnostics. This will depend on what type of scanner you are using. Some will have a menu system on them, while others will have to enter your make and model of the vehicle into it. Either way, you need to make sure they are reading each other, so make sure you read the manual for the scanner before using it.
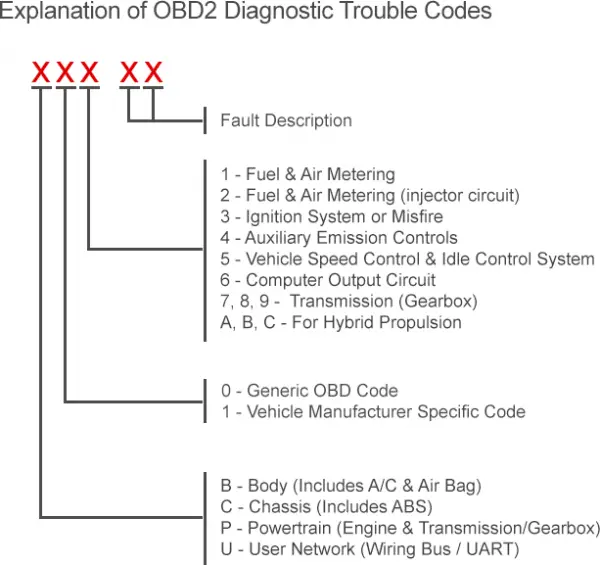
Codes
The scanner will pop up a code on it, and sometimes will give a description of the code right on the screen. Again, this will depend on the type you purchase.
DrivrZone.com
Research
In most cases, your manual for the vehicle or even the scanner itself will give a list of codes and their meaning in it. If you cannot find the code in either place, you may have to look it up online.
Shut off
Once you have all the information, shut off the vehicle and the scanner. Then disconnect the scanner from the vehicle.
At the end of this process, you should be able to tell what is wrong with your vehicle and make an informed decision about how to proceed with repairs.
An Essential Device for Your Toolkit
An OBD2 scanner has become a crucial diagnostic tool in making sure that your vehicle runs properly. Understanding the benefits of this system and how it works should not go understated. Make sure you research all your options for the different scanners out there, and hopefully, with the information above, you will better know how to use an OBD2 scanner and decide what is your best option.
 A Complete Guide on How to Use a Diagnostic Code Reader
drivrzone.com
A Complete Guide on How to Use a Diagnostic Code Reader
drivrzone.com