Complete Guide To Self Applied Car Scratch Repair
 Complete Guide To Self Applied Car Scratch Repair
drivrzone.com
Complete Guide To Self Applied Car Scratch Repair
drivrzone.com
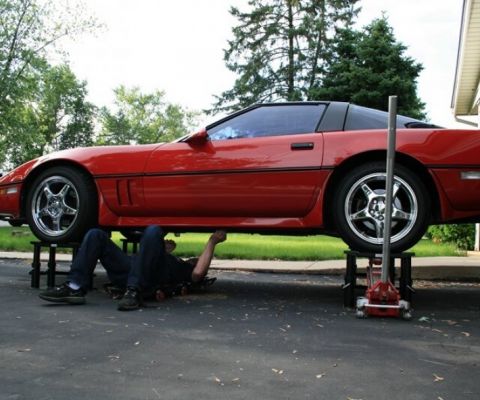
So, you got home and noticed a scratch on your car that you’ve never seen before. Whether you had back luck in the parking lot or just a minor accident, your car may still be repaired at home. It’s not as easy as using the magic marker from the TV commercial, but it should save you from an appointment in the workshop (or having an ugly scratch).
First know that there are different degrees of scratches, some of which can’t be easily fixed at home – or fixed at all. Not all scratches will fade, although the treatment can make them much harder to notice. Regardless, following the steps detailed in this guide will provide you some results.
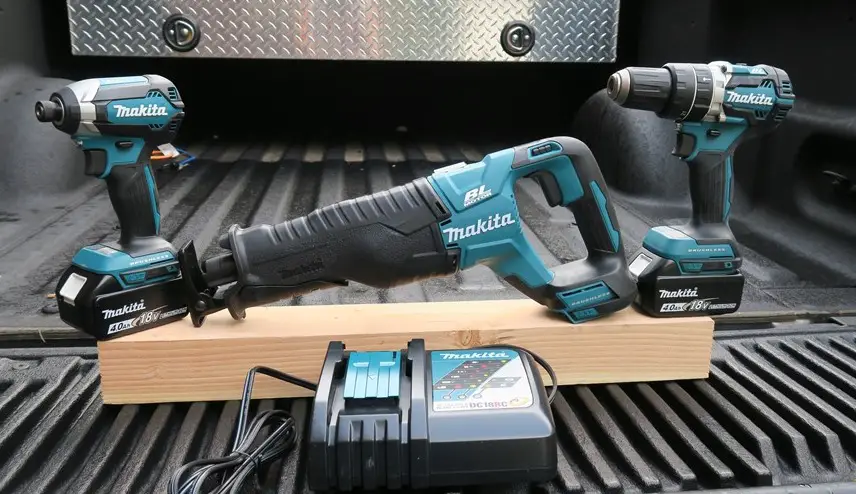
You’ll only require things that you should be able to get in your nearest car repair store. Home tools like a buffer will result in a cleaner job, though.
What you need:
- Sanding paper (read below to know which grit)
DrivrZone.com - Water spray bottle
- Masking tape and newspaper
- Filler or paint of your car’s color *
- Quality cloth (microfiber preferably)
- Rubbing compound
- Car polish & wax
*: You should be able to find the factory-paint code in the car manual. If not on the manual, it may be on a sticker or plaque beneath the hood or in the doorsill. This code will provide you the exact shade. You may also find this information on the internet likely.
The Anatomy of a Scratch
It is rare to own a car that’s never been scratched unless it’s fairly new. Some readers may never have fixed a car scratch before. If this is your case, there are some things you should know about scratches before attempting to cover them.
A car has four principal layers that can be affected by a scratch, explained from the exterior-most layer to the innermost one:
Clear coat: It’s what normally covers the colored base. Clear coat is sleek and transparent, and the most exposed to the environment. Thus, it must be resistant enough to endure a certain degree of abrasion, chemical exposure, and UV rays.
There are 1K and 2K clear coats (A.K.A. one-part and two-part respectively). Metal components (like the car body) usually have 1K coats and can be heated to 140° C. Plastic ends such as the bumper, on the other part, normally use 2K clear coating, as they normally only accept up to 90° C.
Keep in mind that clear coat is the layer that offers the most protection against the elements. Buying a cheap coating will ultimately result in a considerable exposure to UV rays and other factors that will degrade the rest of the layers.
Color or base: The basecoat is located beneath the clear coat. It’s often referred to as the color or paint of the car, and it’s because it provides the body with the visual properties and effects of colors. Note that the color base must be protected by a UV clear coat, or else it will degrade considerably fast. The basecoat isn’t normally protected from the elements.
Base coats used for vehicle painting are normally separated in three classes: solid, metallic, and pearlescent pigments.
Primer: The primer is the innermost coating and lies on top of the steel. One of its purposes is to prepare the steel surface in a way in which the base coat has better adherence. It acts as a leveler, covering manufacture imperfections on the
Aside from smoothening the surface, it protects the steel from corrosion, heat change, chips, ultraviolet radiation, and other natural factors. A good primer will allow a wider variety of paints to be used with your car. Considering every other layer lies on top of this one, it’d be wise to opt for quality primer.
You may not always want to add primer before painting, though. It sits perfectly on virgin steel, preventing it from rejecting paint that would otherwise look ugly in no time. However, applying two coats of primer on a small fix may make it very difficult to hide the repair. Additionally, you only want to use primer once you’ve uncovered the metal. Don’t use on plastic or other coatings.
Steel: If you’ve had an accident that reveals the steel body of the vehicle, it has gone through all other layers. Not all scratches that get the steel necessarily damage it. However, if the scratch digs into the surface of the steel, it won’t go away so easily.
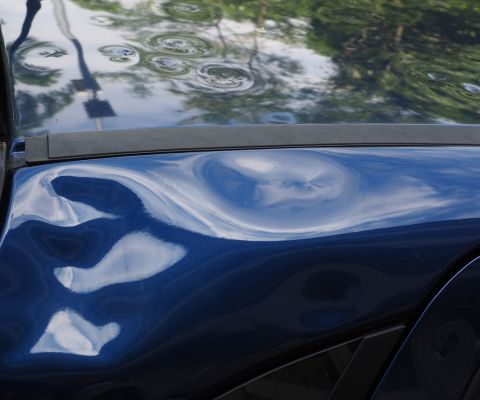
Identifying the Scratch
First off, you want to make sure that you have an actual scratch on your car. Funnily enough, your “scratch” may end up being a simple stain or lesser damage. Check for other scratches, if there are any, you’ll want to treat them now. Pass your finger over the scratches, this will help you determine two key factors:
- That it’s actually a car scratch
- The depth of the scratch
A superficial scratch won’t feel deep at all, it will barely differ from the actual surface. These stains or very light scratches may come from soft friction with a material of another color and don’t actually damage any of the coatings of the vehicle.
Car scratches can go as deep as the steel, or they could just be superficial. Determining this is key to knowing to which degree you need to fix the surface. If the surface of the car has a clear scratch on the color, but it doesn’t feel any deep, it didn’t make its way to the bottom. The treatment is not as thorough in these cases.
If your case is a deep scratch, don’t worry. You’ll need to get some more work into the piece, but it should be alright. Check that you count with all the suggested materials before starting!
Repairing Light Scratches
For light scratches, you won’t need to add any paint to your car or sand the surface. Opt for the scratch removal product for your convenience or preference, making sure its compatible with your car. Any incompatibilities should be marked on the packaging of the product. You’ll just need to apply the product on the scratch following these steps:
Apply the product: Refer to the instructions of the product regarding the amount of removal to apply. If not stated, a portion the size of a quarter should serve you well. Use the product on the applier (may be a pad, a small brush, or something similar) and not directly on the surface.If the product didn’t bring an applier, use a high-quality cloth, preferably microfiber. You don’t want anything that could roughen up the surface.
Grind into the scratch: Use moderate pressure on the applier to apply the product on the surface of the scratch. One of the principles of fixing car scratches is grinding in the same direction as the scratch. Going with a single motion, in a single direction will provide you with an excellent finish.Note that some products may recommend being applied in another manner. Follow the product instructions over anything else. You should note a gradual improvement as you grind for some minutes.
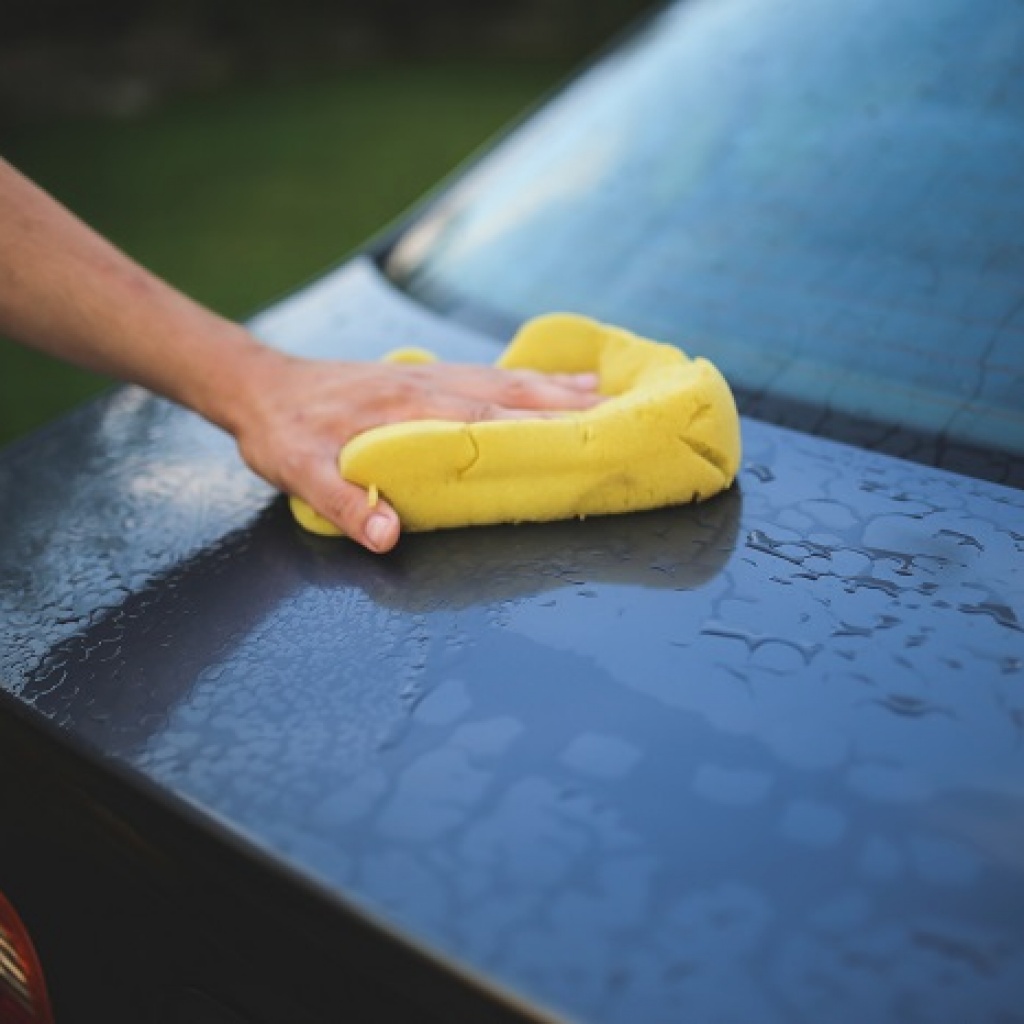
Cleaning the surface: The final step of any surface repair is – you guessed it – washing the vehicle again. As silly as it looks, this is not a step you want to skip. It’s utterly important that any chemical treatment or product is removed after appliance unless indicated otherwise. There are few car cleaning products that are actually meant to sit on the surface of your car for long.
Repeat if needed: If you’re able to notice an improvement on the scratch, then feel free to apply some more product and repeat the process. Once again, verify the product package beforehand to make sure it doesn’t state otherwise.
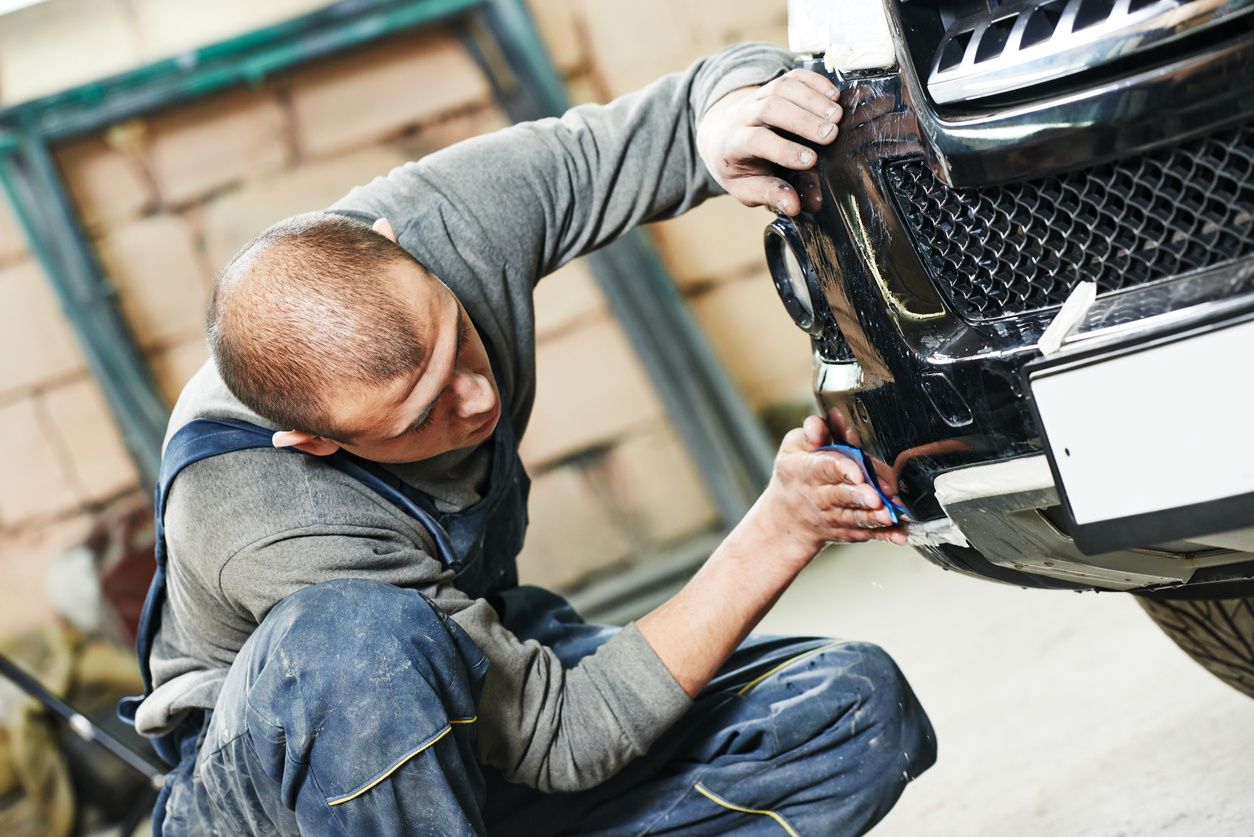
Repairing Deep Scratches
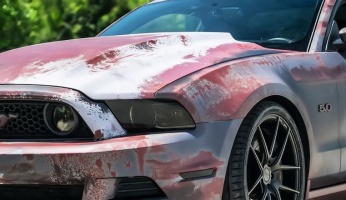
Your scratch is past beyond the surface and dents a bit into the steel, but no problem. Scratches that uncover the steel can still be repaired, and those that can’t, may still be dissimulated considerably if following these steps:
You already know what comes first. Go wash your vehicle. Make sure to get any debris outside the scratch. Look at the bright side, you’ll have one heck of a clean car by now.
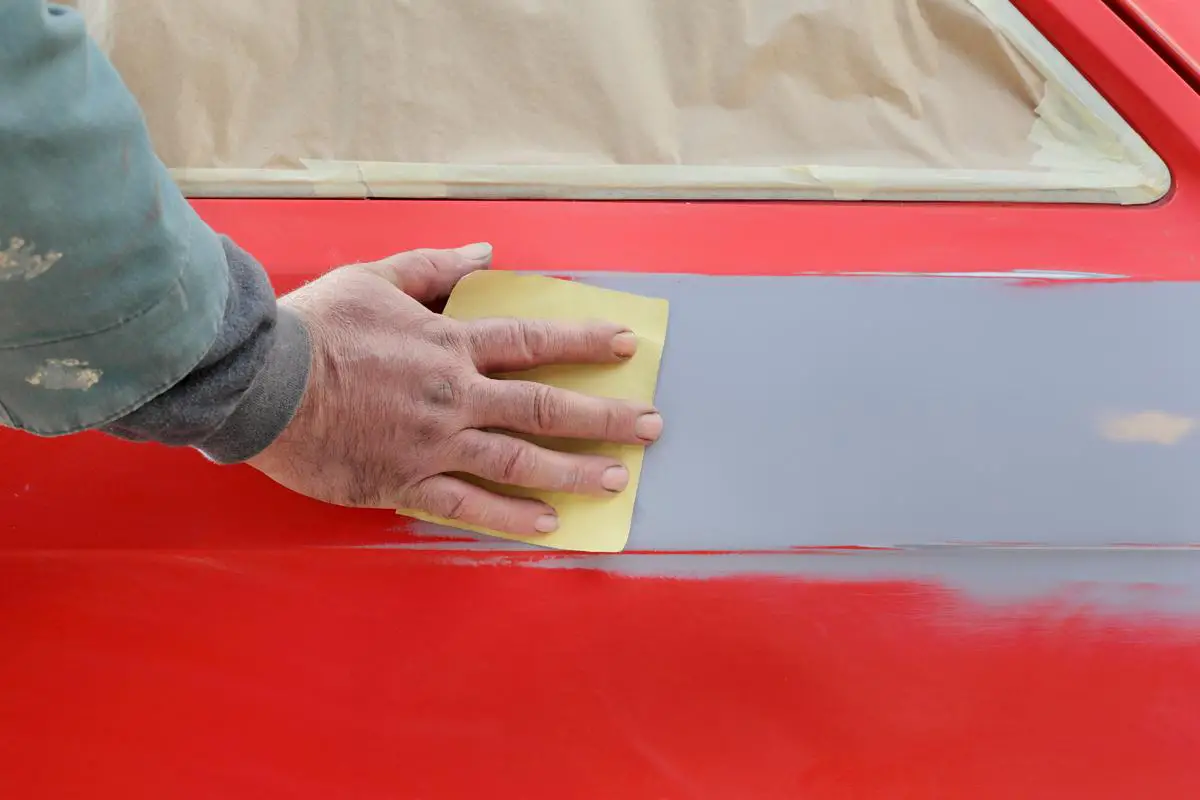
Sand the scratched area: Before treating any deep scratches, you’ll need to sand away all layers of paint. You want to unveil the steel body before start working. Sand slightly around the scratched areas only.The grit of the sandpaper shouldn’t go beyond 2000 points normally. A 2000-grit wet or dry sandpaper around a sanding pad does the trick for most cases. Start sanding in short periods of around 20 seconds, stopping to check the progress. Sand until the steel is visible.— It’s important that you sand in the same direction of the scratch. Sanding in any other direction will create other scratches that will only make the restoration harder.— Use your water spray to rinse the surface eventually and dry with microfiber. This will give you a much clearer insight into your progress. Once you’re done sanding, clean the surface once again. Make sure to remove all the abrasive residuals from the surface.
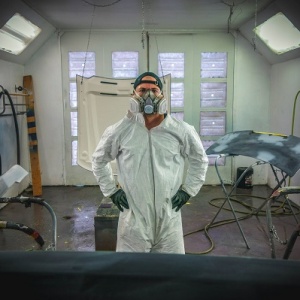
Apply paint: Once you’ve got a matching paint color for your car, apply to the same area you applied the primer too. Add as many applications as you seem fit, you may not want to add too many of them or that specific segment of the car may stand out from the rest of the body.
Waxing: Unquestionably the most satisfactory part of any restoration. Use some quality wax, on the surface and start polishing it. An orbital buffer is a tool of excellence for this task, but don’t feel bad if you don’t have one (although they’re awesome).
Once you’ve followed these steps, your scratch should be covered, and your car should be clean, waxed, and looking hella good. Feel free to go through the sections as many times as you need to, a rushed work often leads to a poor output.
Sources
- Wikpedia – Automotive Paint
- Car Wow – Car Paint Types Guide
- ThoughtCo – Do I Need to Prime Before I Paint My Car?